For the last 3 years, we have lived in a rental. It wasn’t our original plan, but life happens and you just go with the flow. After being in this home for 3 years and seeing we could be here another year, I decided to ask our landlord if I could paint the front door (I did a faux wood paint technique, check it out here) and hang shutters. She found no problem with that as long as I didn’t drill into the brick, luckily I have used brick clips for years so there is no need to drill into the 100+ year old brick.
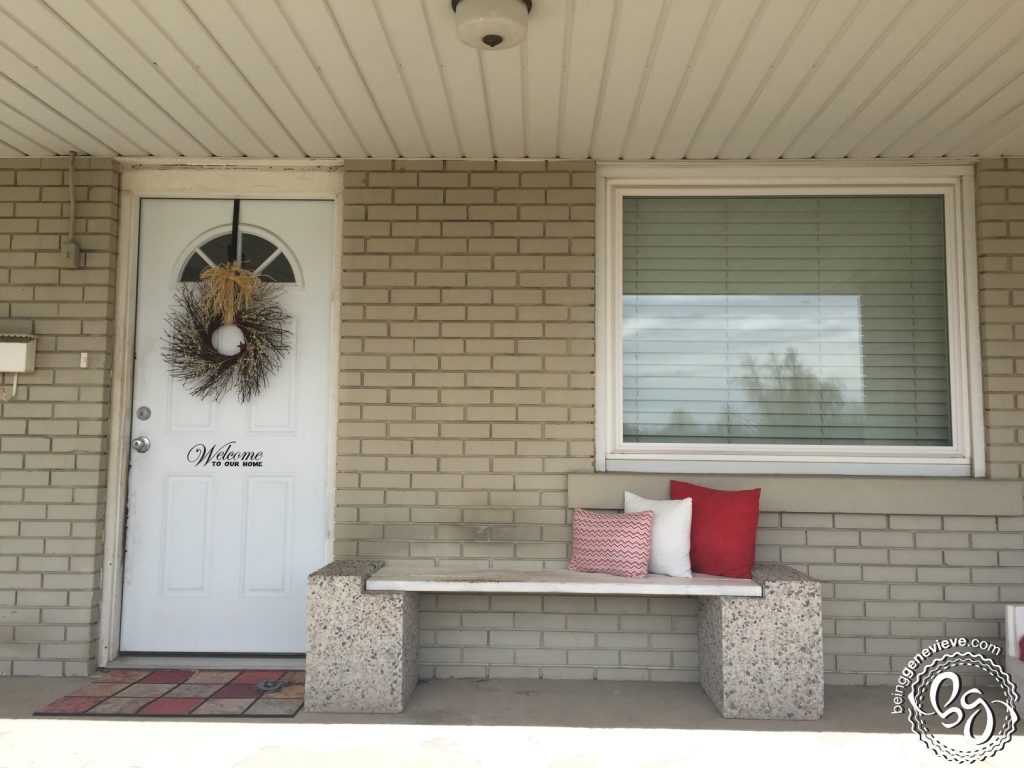
BEFORE – Looks like a rental doesn’t it.
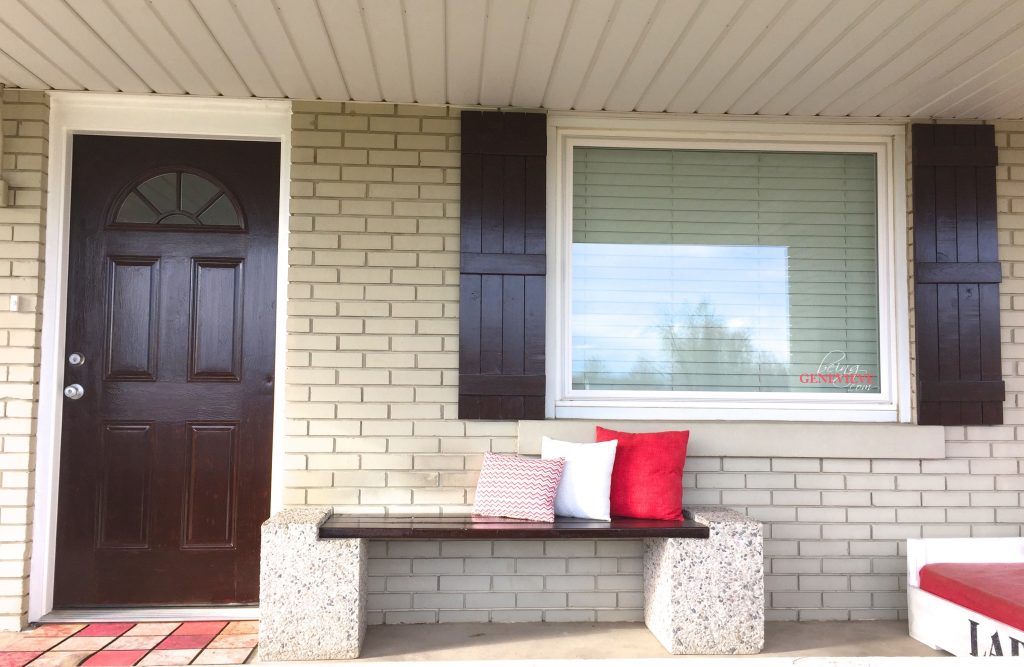
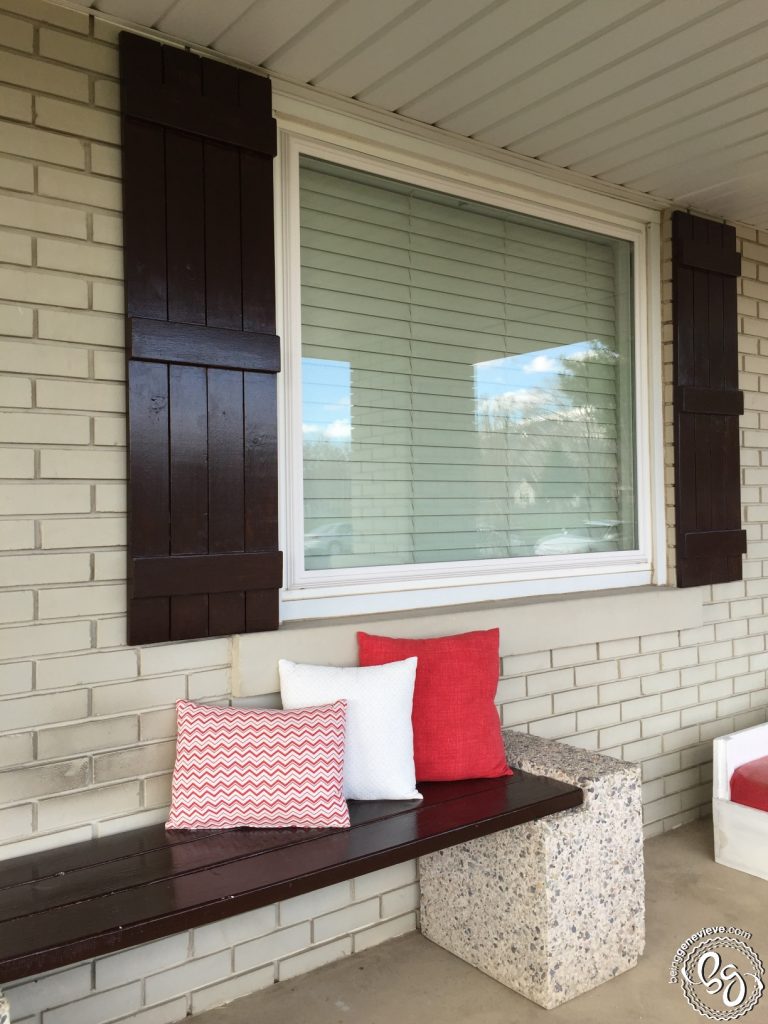
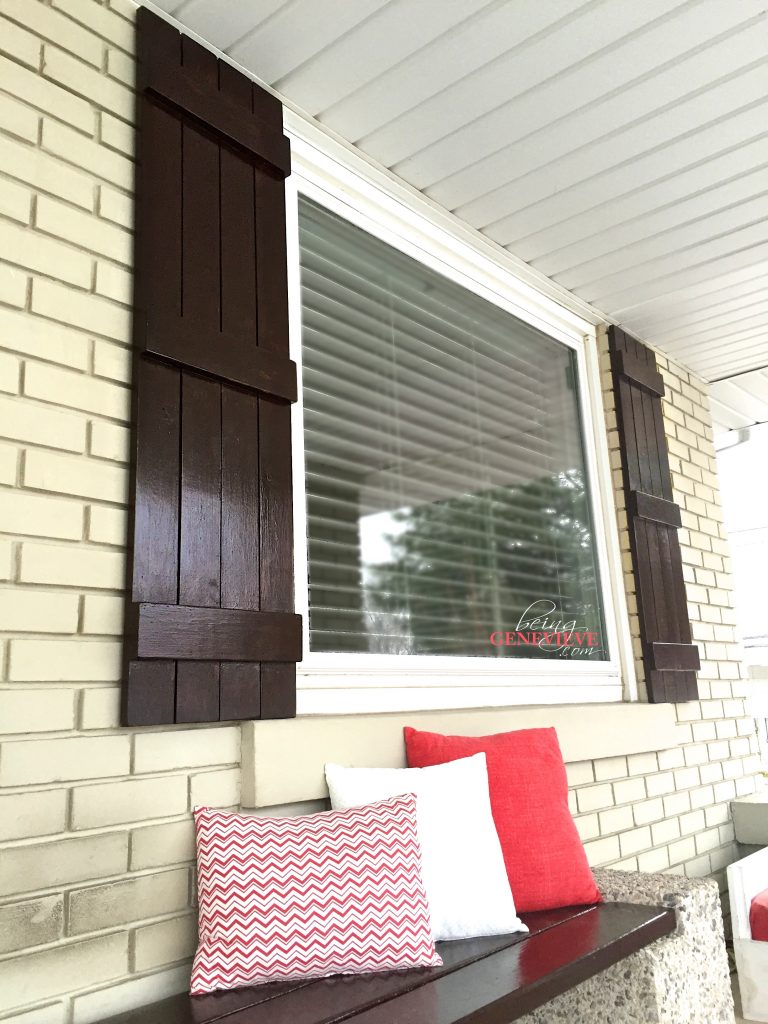
AFTER – The deep rich color of the door, bench and shutters help add warmth and character to the house. It makes it much more inviting. I still need to make a new wreath for this deep dark door. Any suggestions???
Note: I have made this tutorial for 2 shutters to accent 1 window. If you will be doing multiple windows take that in to account when buying supplies.
Supplies:
- 1″ x 4″ x 6 feet Common Boards*
- Nails 1 1/4″ long
- Nail Gun or Hammer
- Minwax Wiping Stain – Rustic Mahogany
- Minwax Wiping Stain – Natural Chestnut
- Minwax Helmsman Indoor/Outdoor Urethane – Water Based Clear Semi Gloss
- Chip Brush
- Plastic Gloves
- Old Towel (to wipe away excess stain)
Supplies for hanging on Brick:
*Buying in 6 foot lengths opposed to 10 foot was more cost affective.
Step 1: Measure & Cut Wood
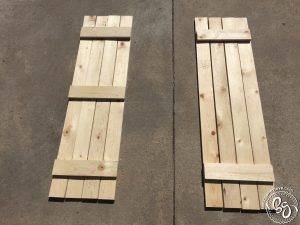
Decide if you want 2 or 3 cross boards.
**Final dimensions of these shutters is 14 1/2″ wide, the length all depends on the length of your window(s).**
Measure your window and cut 8 boards to that length. Then cut 4 or 6, depending on your preference if you want 2 or 3 cross pieces, to the length of 14 1/2″; These boards are the perpendicular boards that cross on the top of the shutter.
Step 2: Assembly
Marking your boards
(All the measurements below in red are my measurements, yours will be different depending on your window. I just included mine so you could see how I came up with the measurements that I did.)
Now lay your long boards next to each other and measure down to the center of the boards. Then add and subtract 1 3/4″. These two lengths are where you will mark the boards, for the middle cross piece. (Example: My length was 52″. The middle of my board was 26″. Then I + and – 1 3/4″. Giving me the lengths 24 1/4″ — 27 3/4″ to mark.)
I then marked down 4″ from the top and 4″ from the bottom of the boards for my upper and lower cross piece.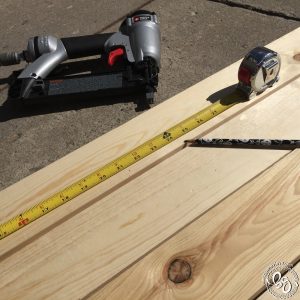
Nailing Together
When it comes to nailing together, begin with the middle cross piece (Board 1 in diagram below) and line it up in between those 2 lengths you marked. Then line up the ends of the cross board with the 2 outer sides of the long boards. Now please follow the diagram below: nail all the red dot locations (on Board 1 only), then nail all the blue dot locations and finally all the green dots. Now move on to Board 2, line up with the 4″ mark you made and repeat the same nailing order. Finally, do Board 3 just the same as board 2. Note: I just eyeballed the spaces in between each long board, no need to measure, just trust your eyes. Remember these are farmhouse shutters, they should look a little rustic.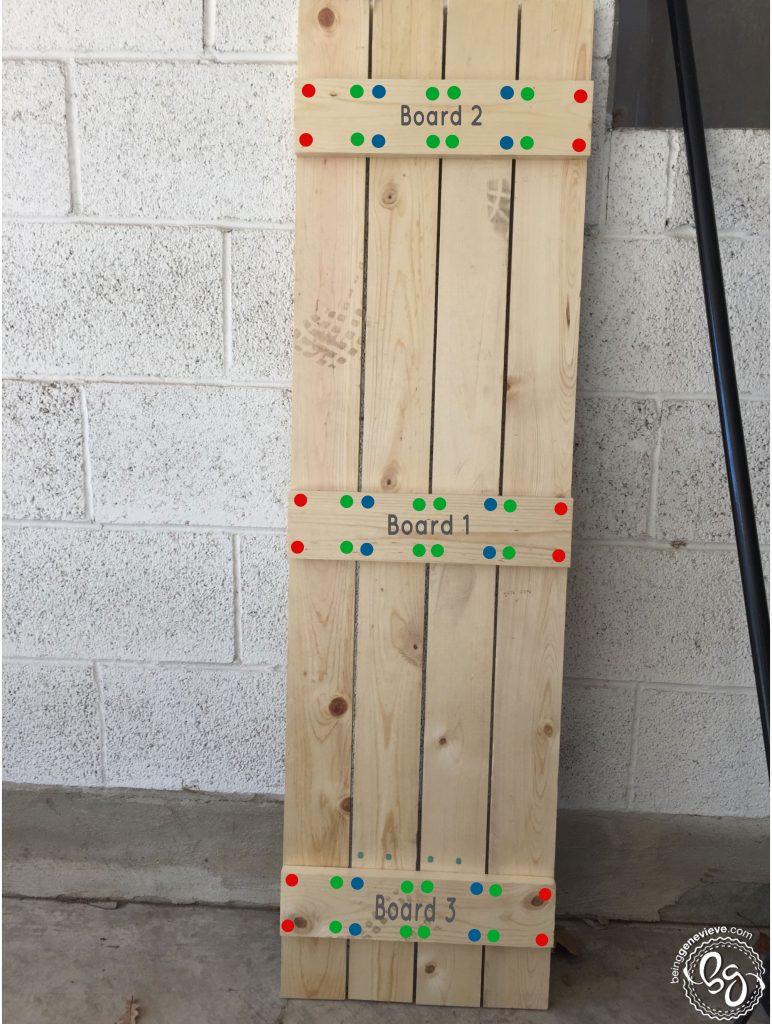
Note: If you have a warped board like the one below, use a flathead screw driver to hold it in place as you nail it together.
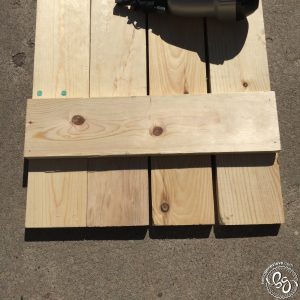
Notice how the board is warped and there isn’t a space in between 2 of the long boards.
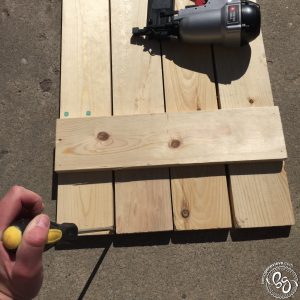
Push and hold the warped board over with the screw driver as you nail it in place.
Step 3: Sand
I sanded all the edges, this will help remove all the sharp edges.
Step 4: Stain
I stained these just like I did my faux wood door (mix stain just like step 3 from the faux wood door tutorial).
When painting the stain, work in sections. I painted an area and left it on for 5-8 minutes and then wiped the excess away. After the entire shutter is done, let the stain dry before doing the second coat. I waited for about 4-6 hours.
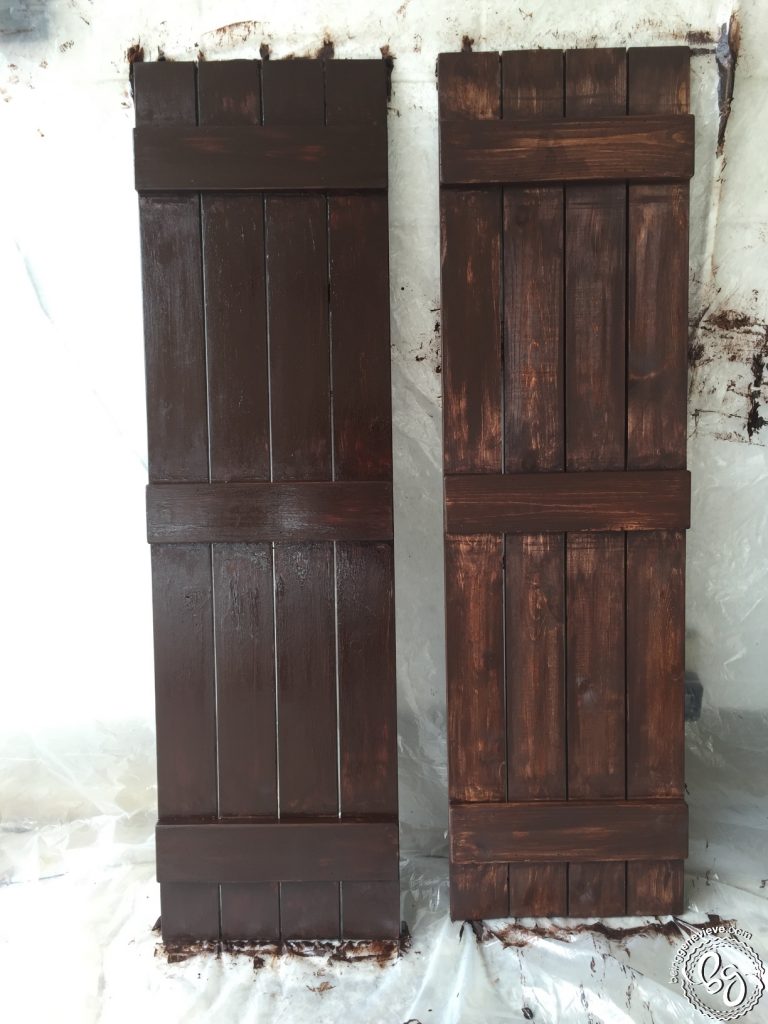
Left: 2 coats stain – Right: 1 coat stain
Now do a second coat of stain the same way, but use only the rustic mahogany stain for the second coat.
Note: For the side that won’t show, next to the house, I only did the 1 coat of mixed stain. On the outside of the shutters I did the 2 coats.
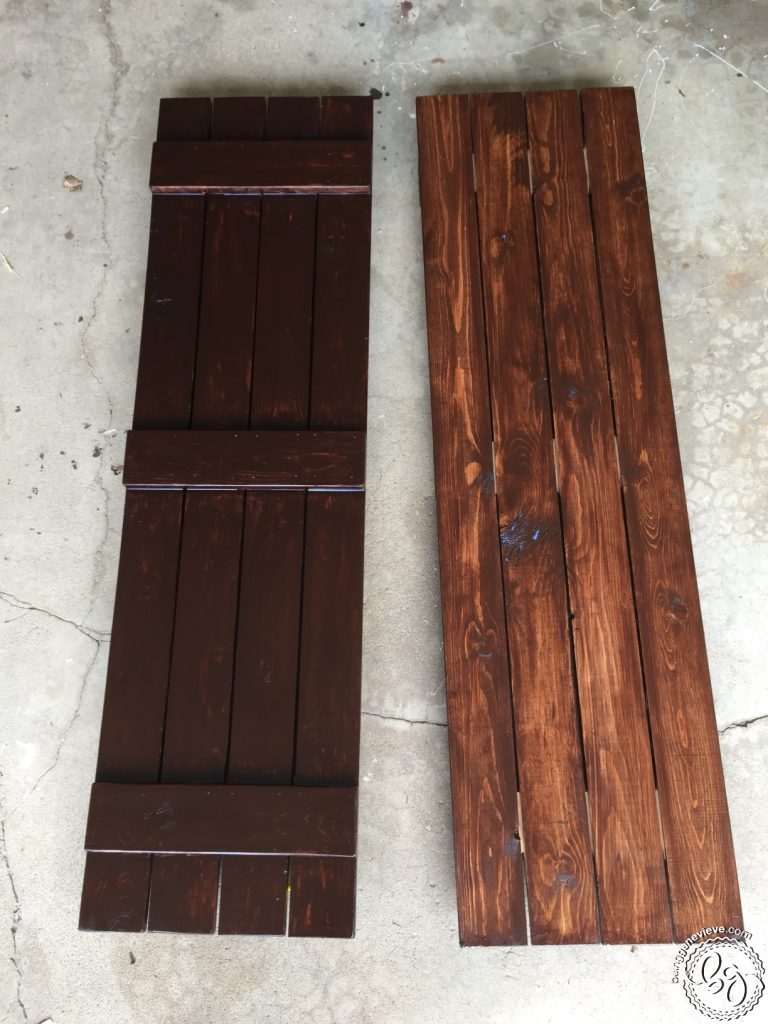
Left: Front of shutter with 2 coats. Right: Back of shutter with 1 coat.
Step 5: Seal
After the stain is completely dry, wait about 24 hours, then you can apply the urethane. I used water-based, but have always used oil-based in the past. Just use whatever you have on hand or like more. Do 3 coats of the urethane on the front of the shutter and 2 coats on the back of the shutter, waiting about 4 hours in between each coat. (Remember to use sandpaper very lightly between each coat of urethane.)
Note: I urethane the back of the shutter and then while still wet I very carefully flipped it over (make sure not to imprint the wet side with your gloves) and rested in on my painter’s pyramids while I painted the front. This way helps speed up the process. If you haven’t ever used painter’s pyramids, they are life changing and you will never regret buying them, especially since a package is less than $10!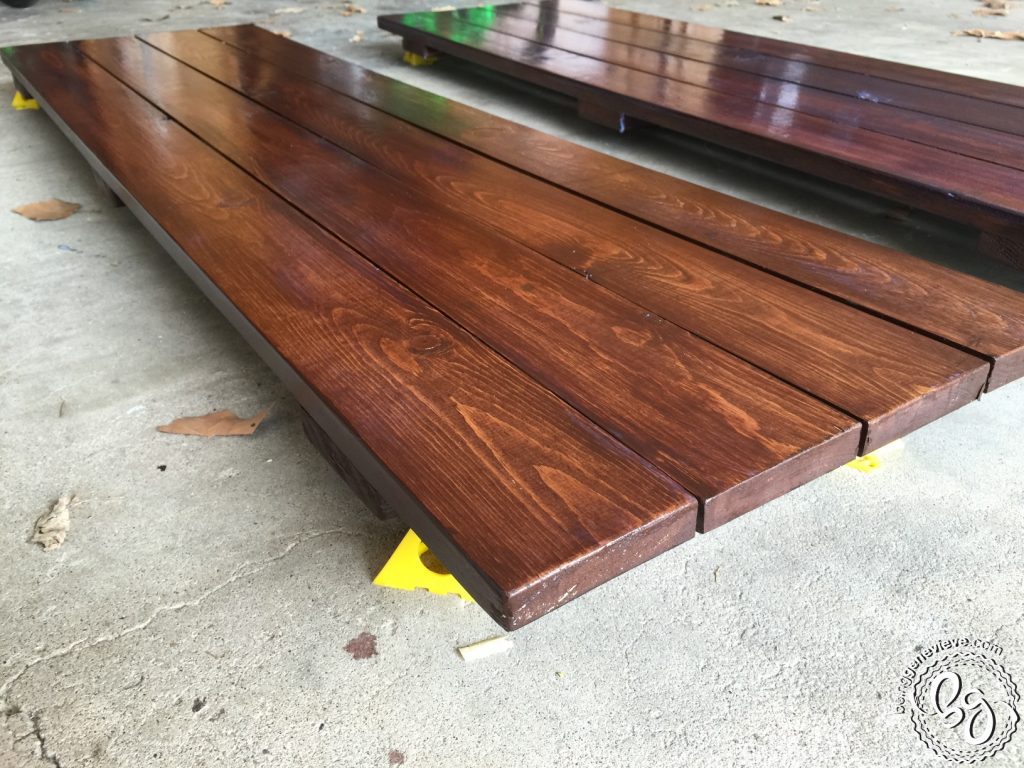
Step 6: Hang
Once the shutters are completely dry you are ready to hang them. You can hang these shutters however you like, but if you are interested in how I hung mine without drilling into the house here is what I did. . .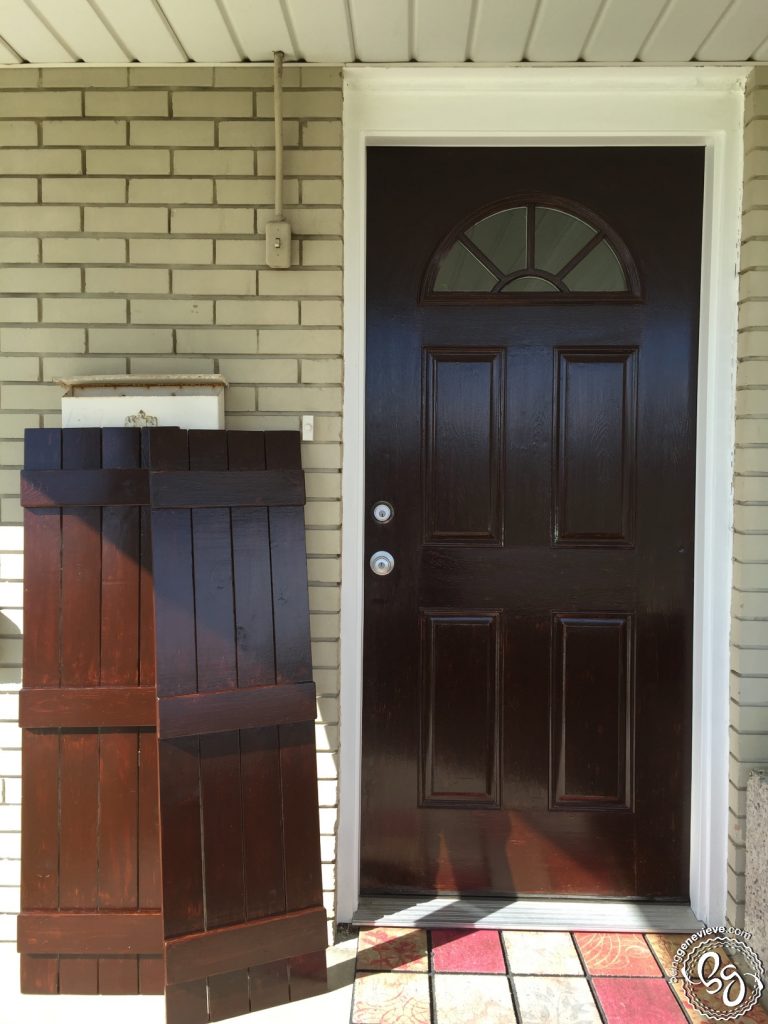
I first began by measuring my brick where I was going to be hanging the shutters to make sure the brick line was level. Mine was level, but if yours isn’t take that in to account when drilling your D-Rings into the back of the shutters.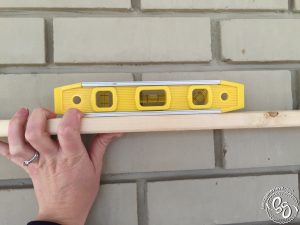
**For each shutter, I used 2 brick clips and 2 D-Rings. So for 1 window you will need 4 brick clips and 4 D-Rings.**
(All the measurements below in red are my measurements, yours will be different depending on your brick and window. I just included mine so you could see how I came up with the measurements that I did.)
Begin by securing the brick clips onto the brick, you want them to fit very snug. I placed mine toward the top 1/4 of the shutter height. I placed mine 1 3/4″ away from the window and 12 3/4″ apart*.
Now measure from the top of the window to the bottom hanging hook. (Mine was 9 1/2″)
*My brick clip hanging measurements refer to the actual hook itself, not the metal that the hook is attached to.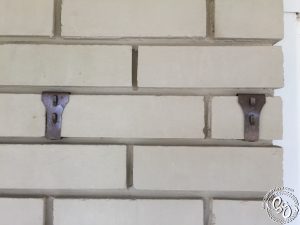
Now on the shutters, I screwed in my large D-Rings. I measured in 1 3/4″ on both sides (this will center the D-Ring on the 2 outer long boards). I measured down 9 1/2″ and placed the top of the D-Ring on that mark. I then used a pencil to mark in the holes where the screws go. (Its down about another 1 to 1 1/2″ from the 9 1/2″ mark.) This is very important! I first drilled my top hole at 9 1/2″ inches and that made the shutters sit not level with my window. Please don’t make the same mistake as me!
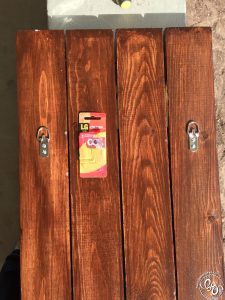
Now just hang up those beauties and don’t worry they won’t be going anywhere, really! We had 90+ mph winds a few weeks back and my shutters didn’t even rattle. Enjoy!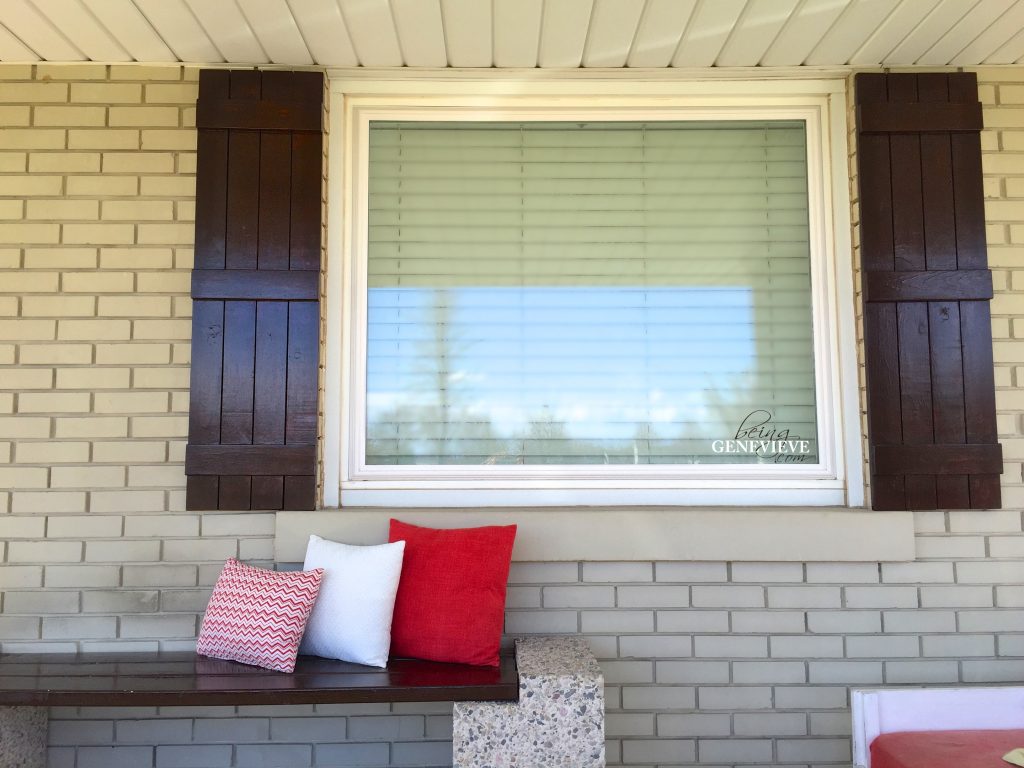



Leave a Comment