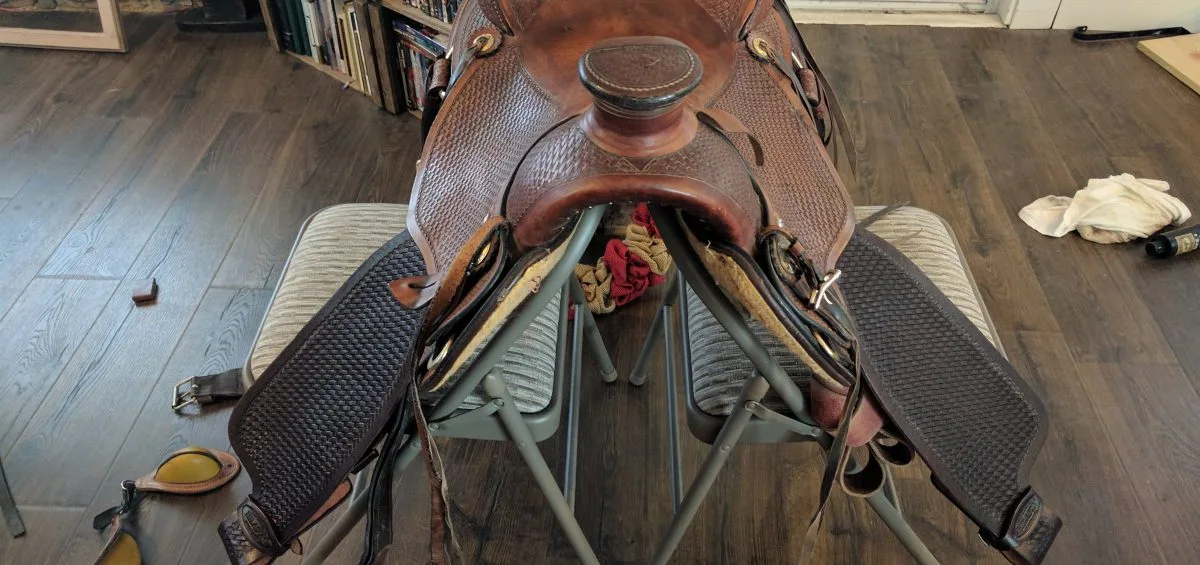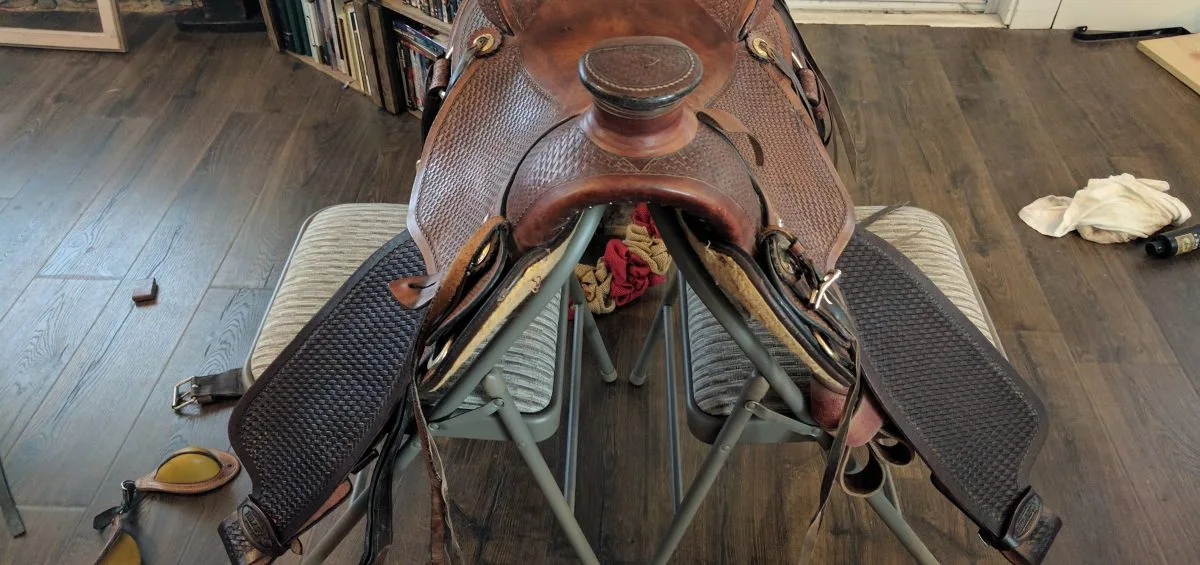
So here is the story about how I decided to do my own saddle fender replacement. I have this older saddle that I keep around just in case I need one with a little bit of a different tree for another horse. Not that I have current plans to get another horse but I just didn’t feel like selling it. So a friend of mine liked it and asked to borrow it for a little while. It was sitting and so I said sure you can take it, what could go wrong. Well, a lot of things could have, what did happen is over a year later I finally get it back with some cash from my friend because it’s fenders got ripped. Now, this isn’t a super nice saddle by any means but I’ve never seen this happen before! I guess there is a first time for everything. So onto the saddle fender replacement.
Saddle Fender Replacement
Here are some of the steps that I took to get this done, it didn’t take long and it was easier than I thought it would be.
- Clean your saddle
- I needed to clean my saddle a lot since it was used quite a bit through the year that it was being borrowed.
- Remove the broken fenders and remove off your stirrups from the old fenders
- Thread the new fenders over the saddle bars
- Fasten the fenders back up with your stirrups
- Measure your fender length so that you are ready to ride again.
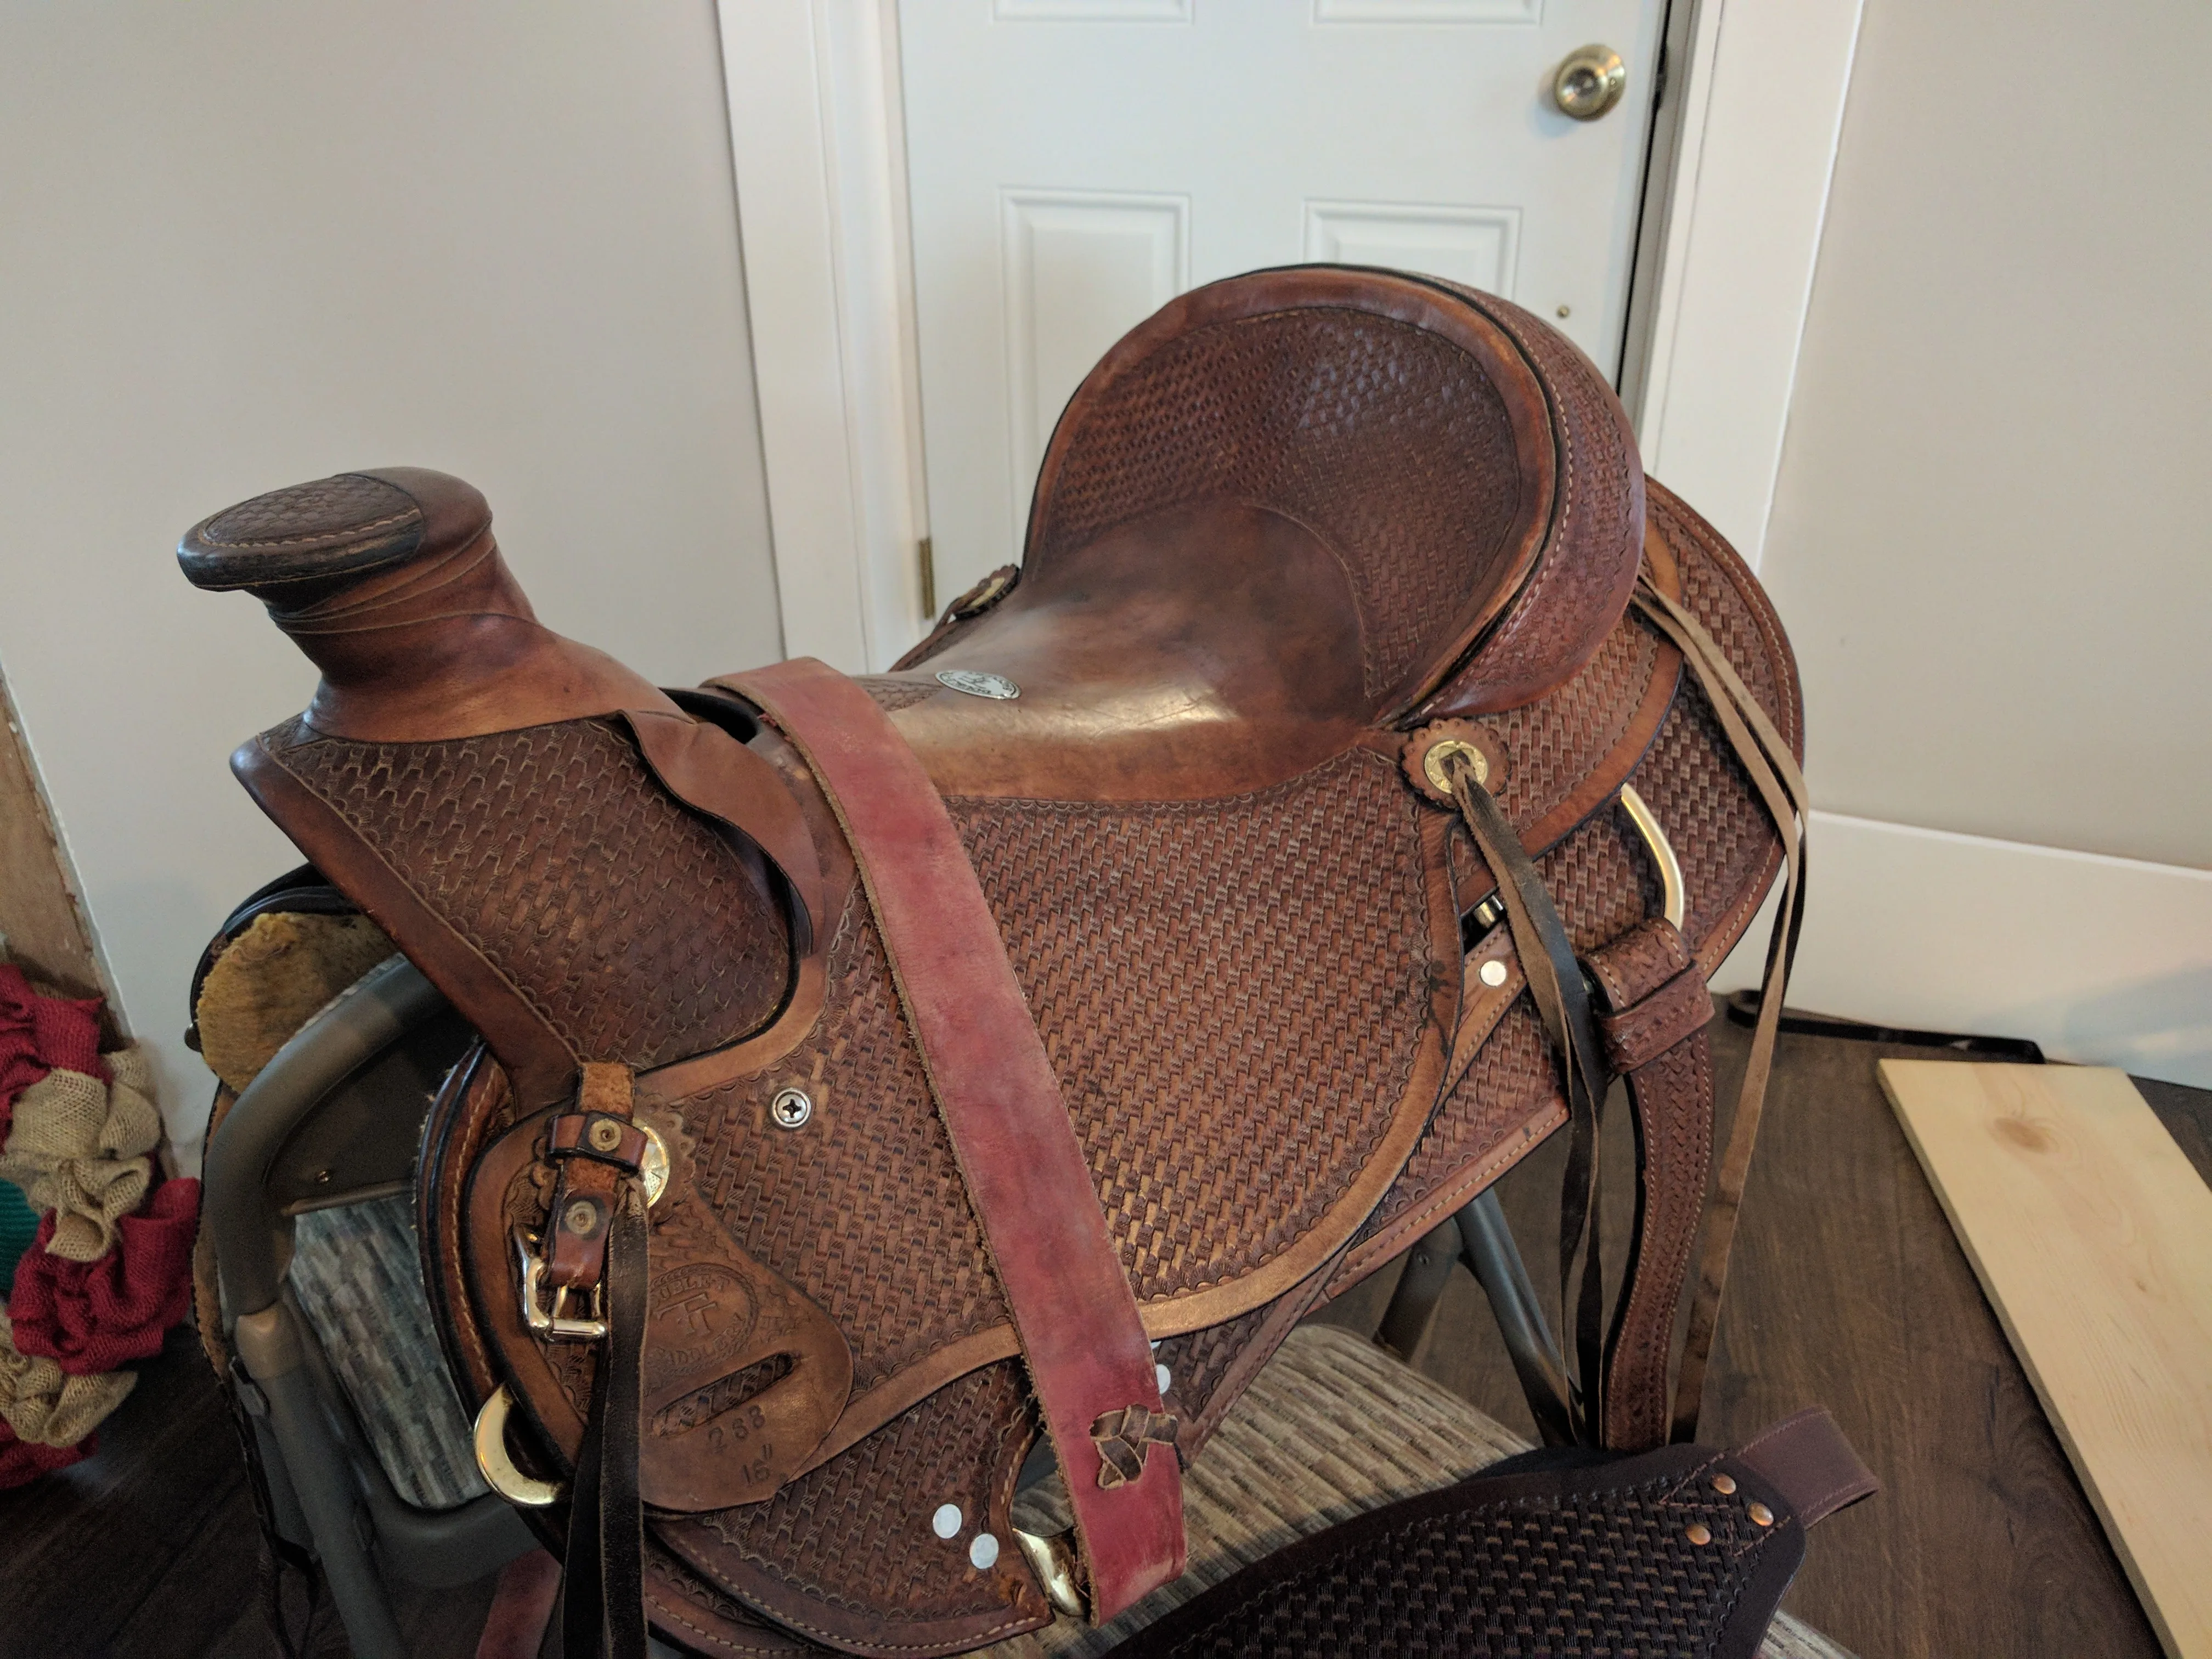
I didn’t get a picture of my dirty saddle because I went straight to cleaning it. Perhaps I am the only one, but I feel like tack can be a bit of an investment so I try to take care of my stuff so it will be around for a long time. So sorry for not getting that picture.
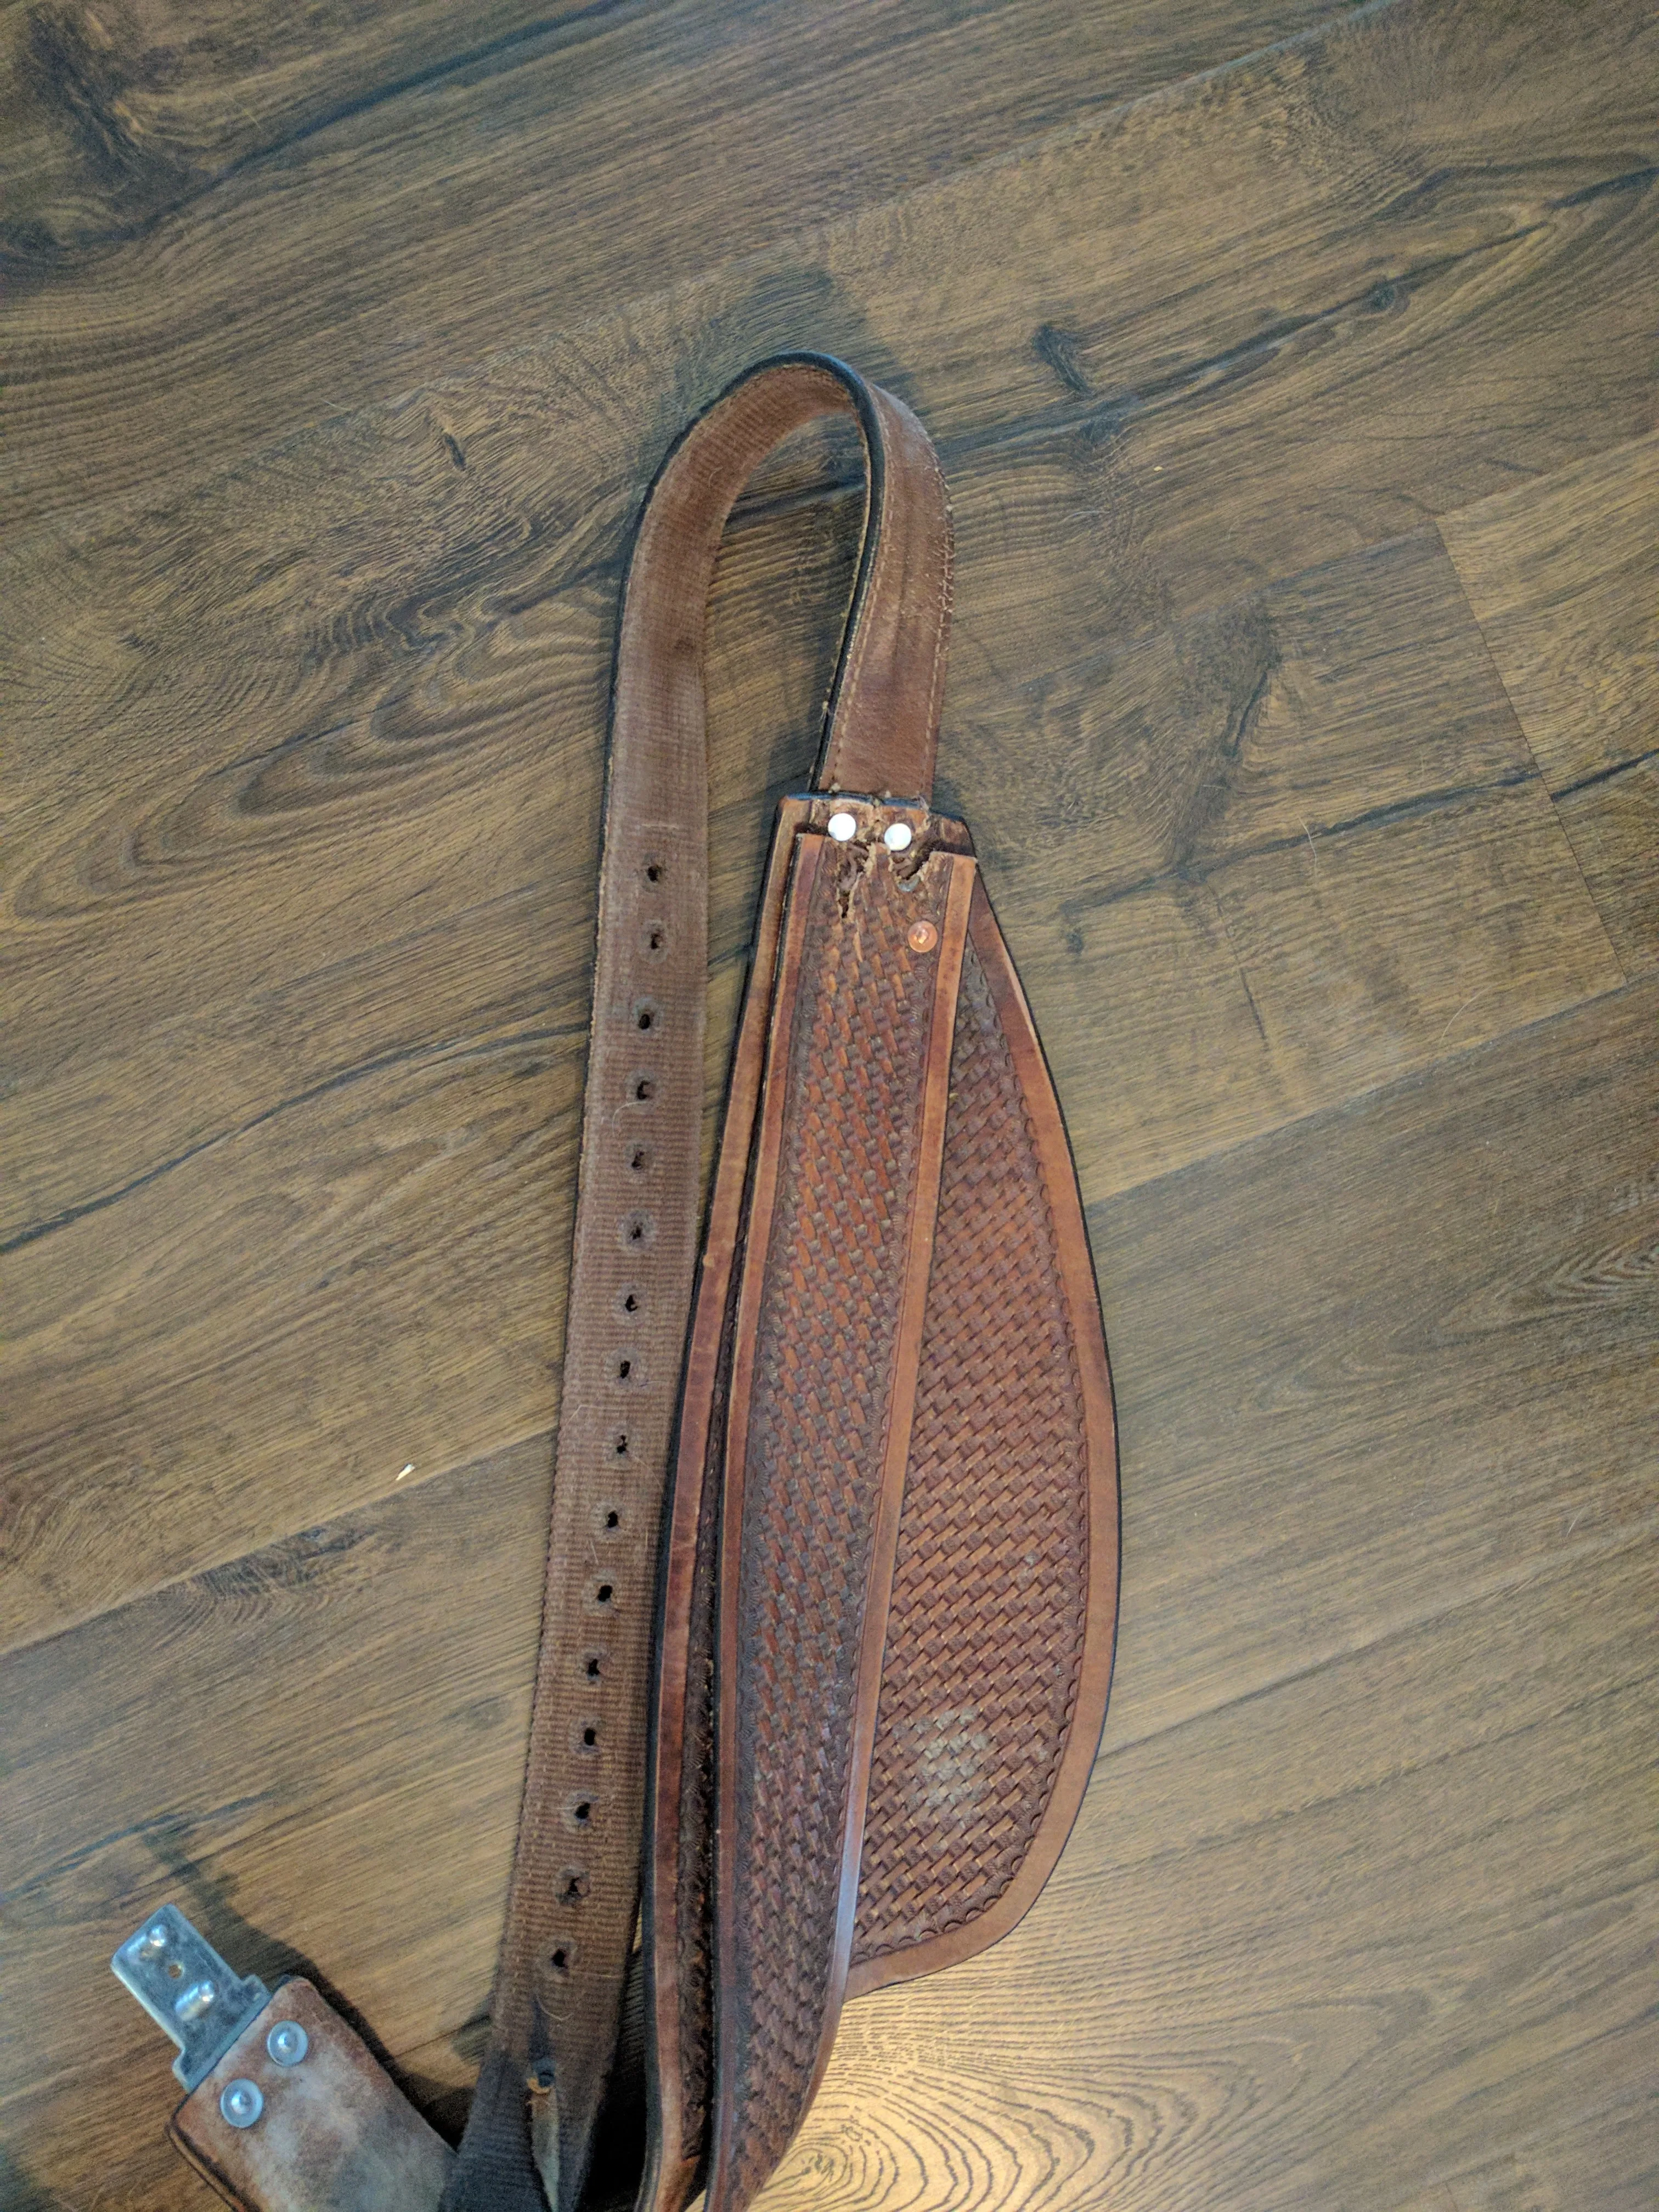
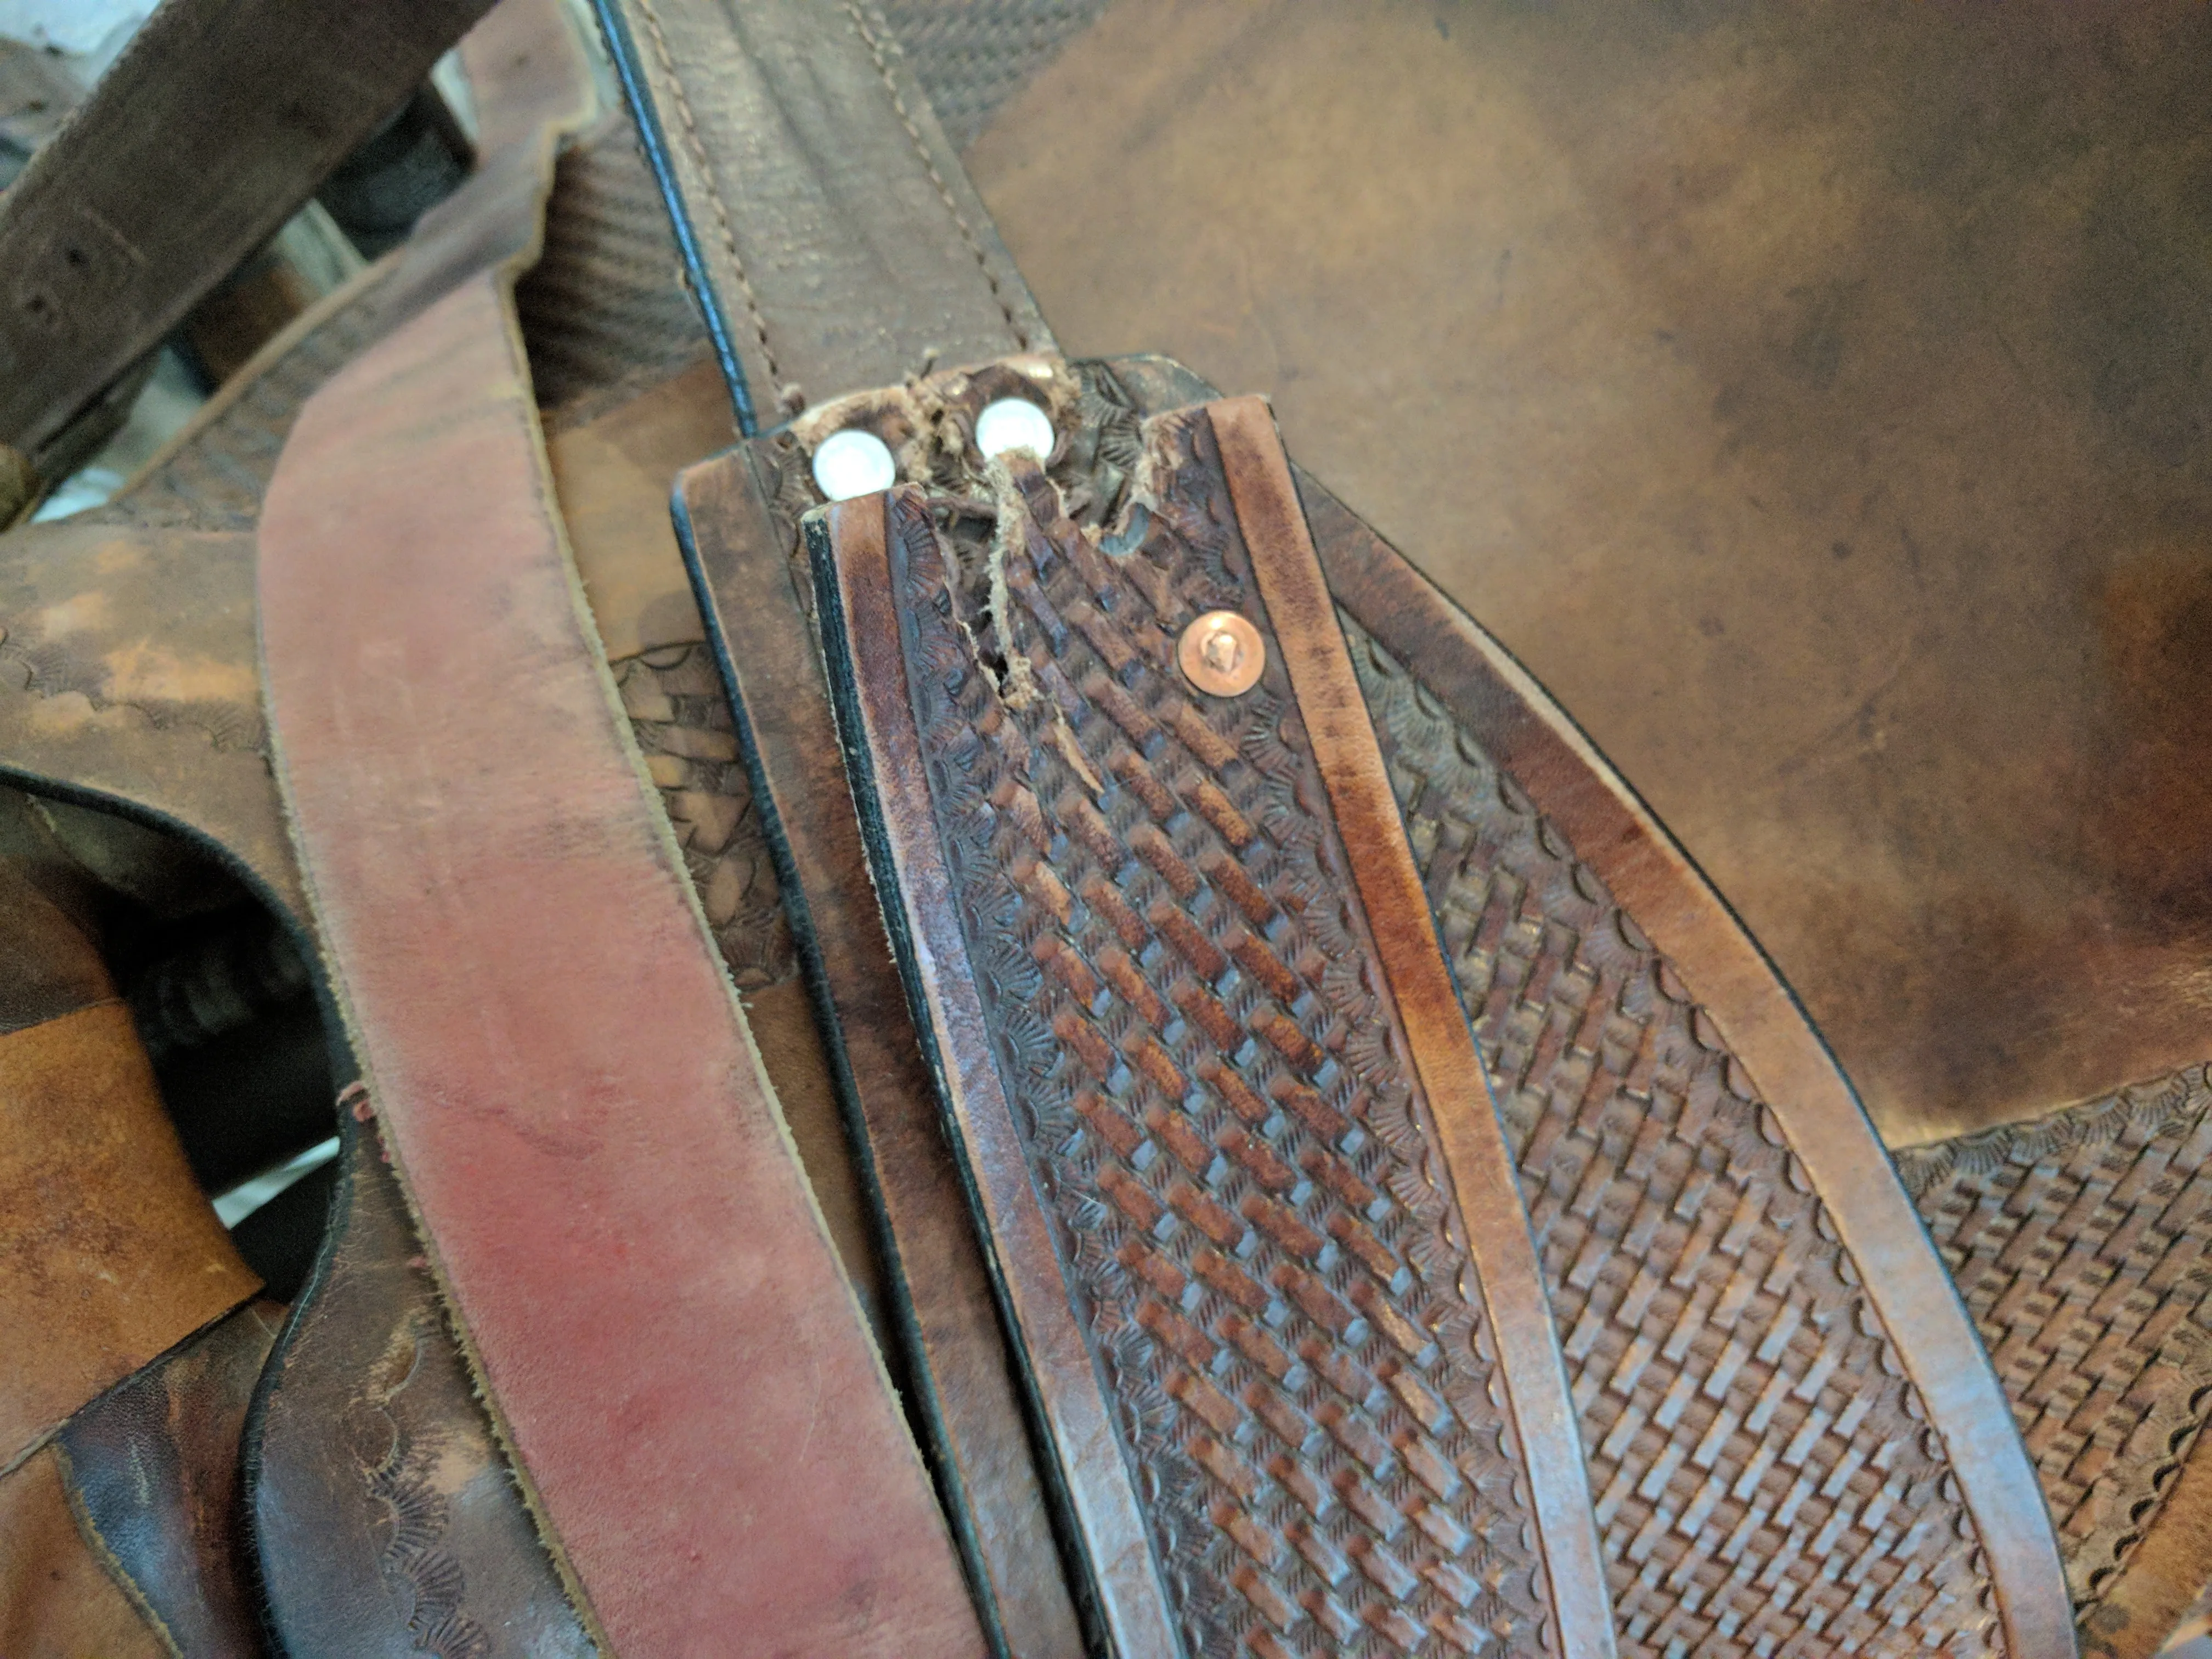
Here is a couple of pictures of the tear on the fenders. Like I mentioned before this isn’t a great quality saddle but it’s not the worst either. Apparently, the horse that my friend was riding decided to start bucking and blew out sideways. I wasn’t there so I can only take his word for what happened, I assume he came down in the stirrups pretty hard a few times which is what caused the tear.
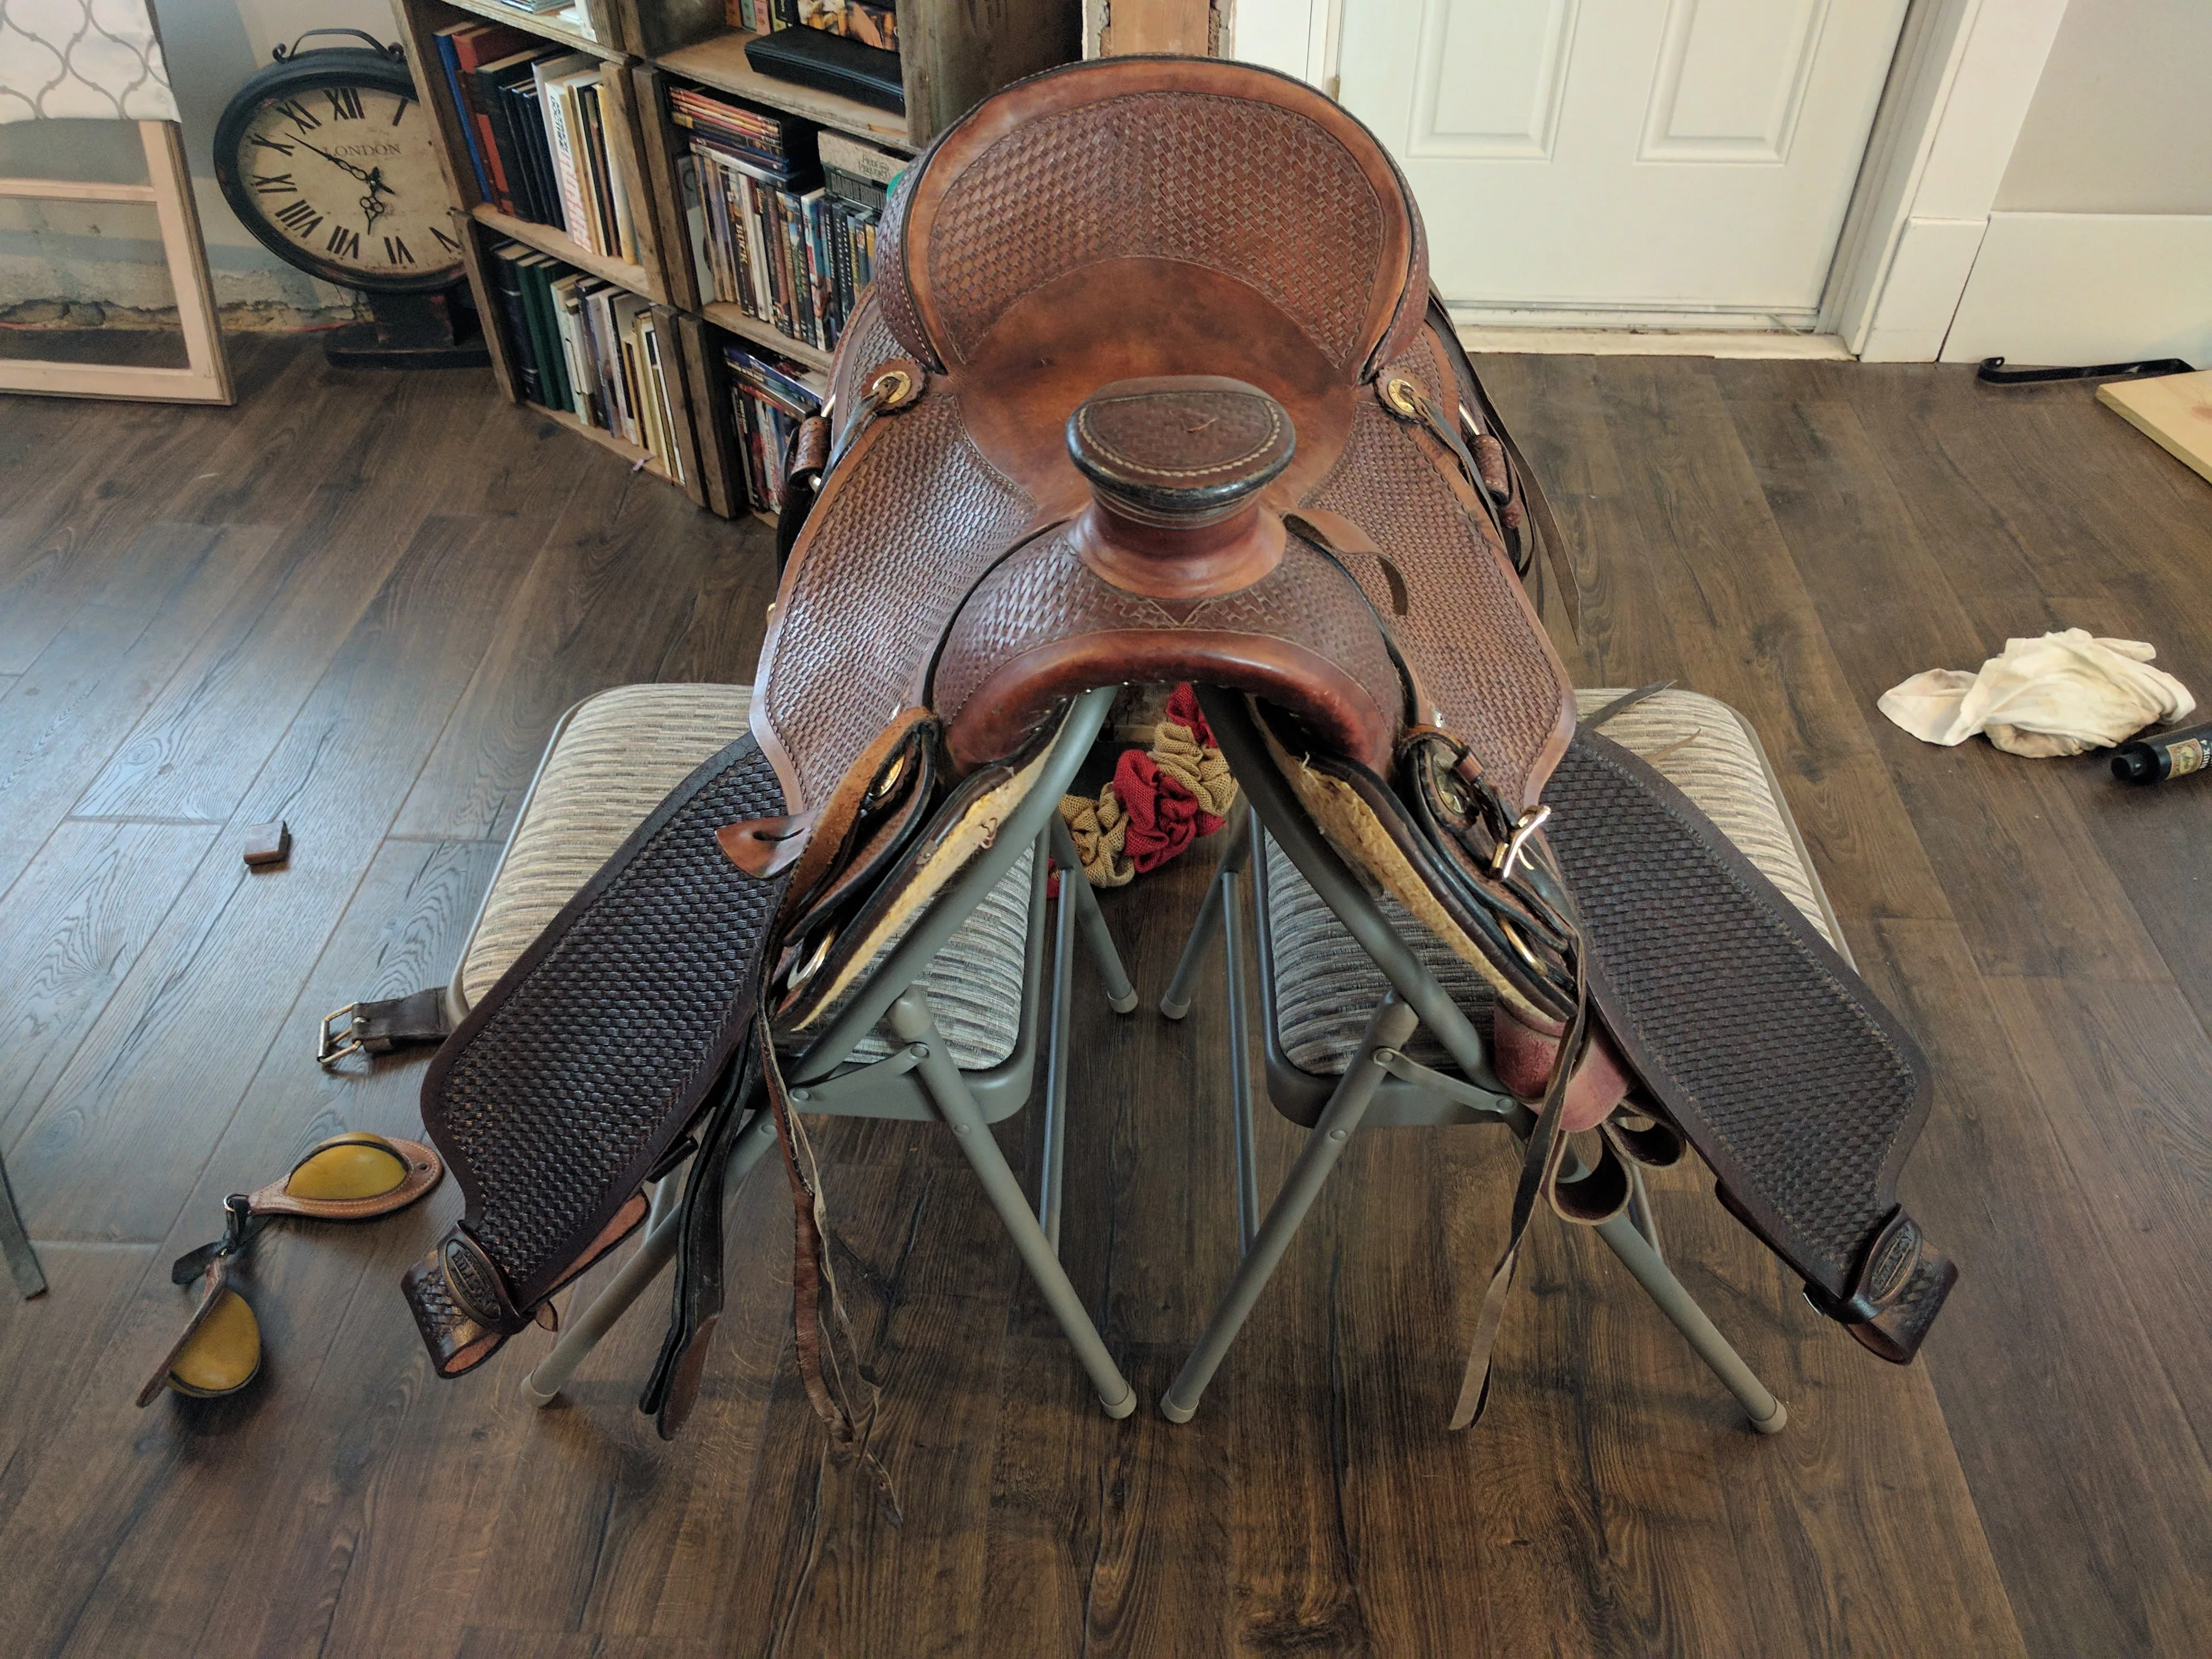
After getting those fenders off, I started threading the new ones in, here you can see the saddle tree where I looped the fender over the bar. Make sure you get the fenders on the correct sides, otherwise you’ll have to redo your work. Which is not my favorite thing, if you like to redo work unnecessarily than by all means, have at it.
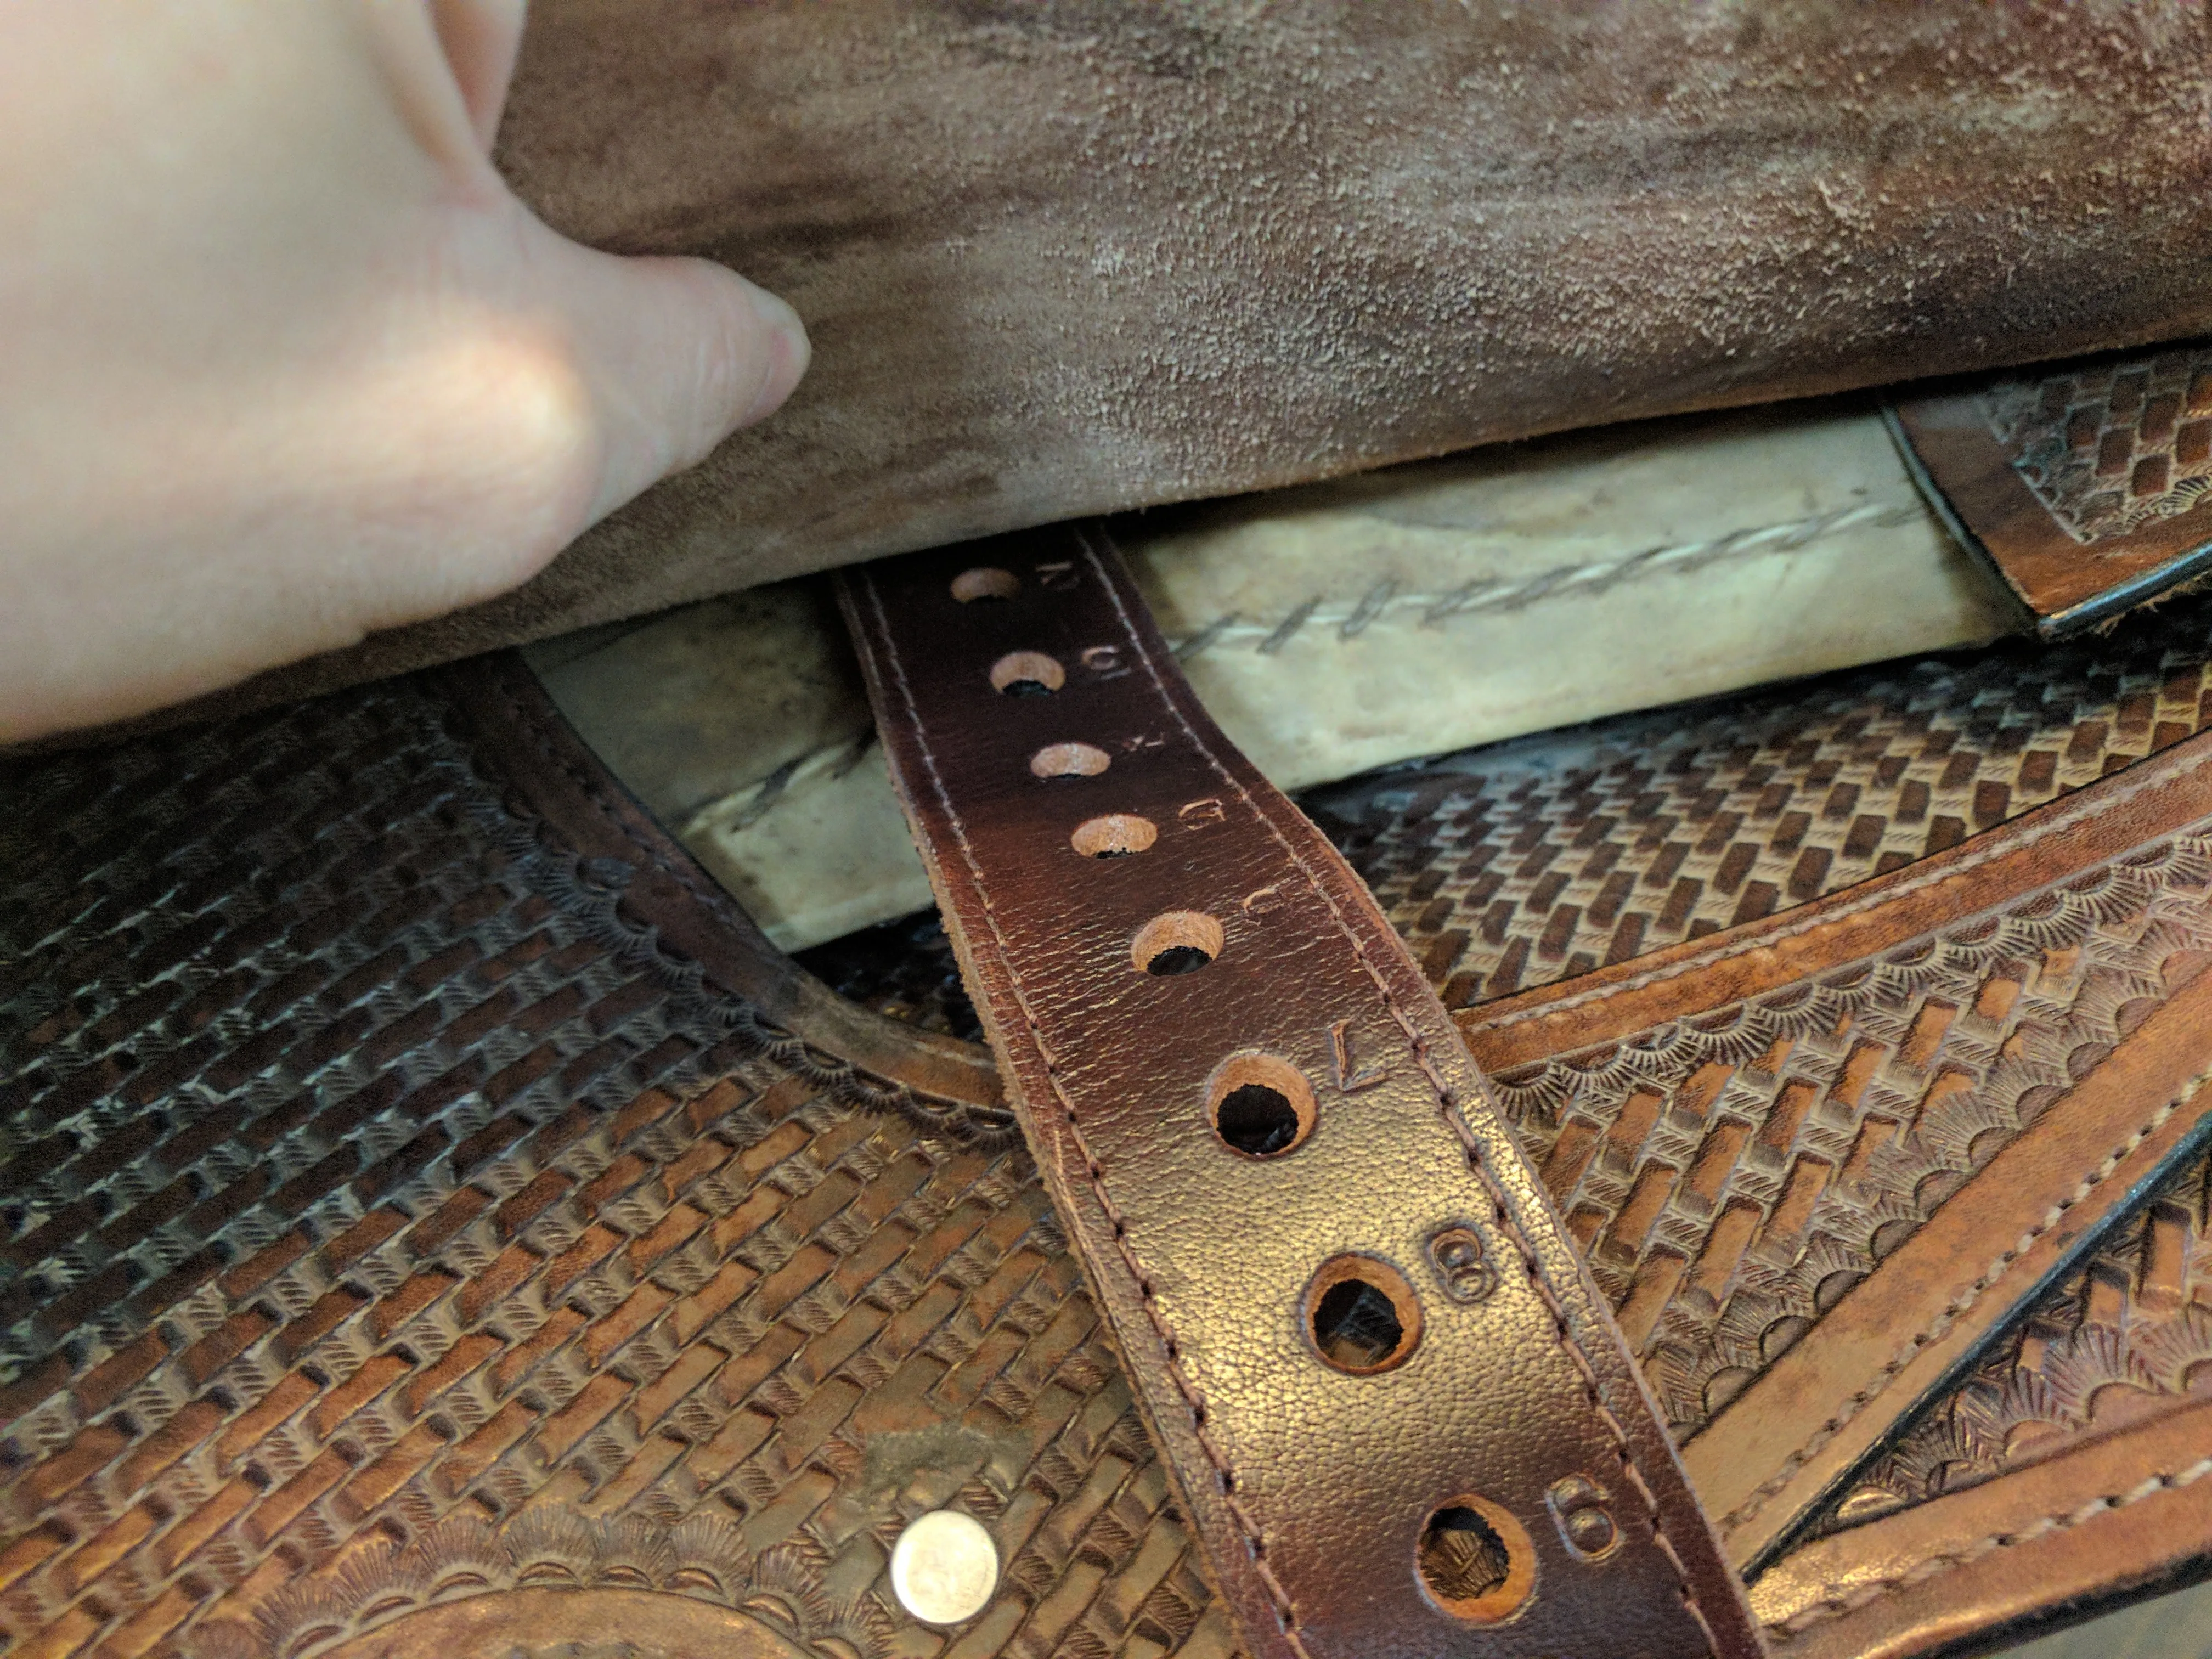
Here is a picture of the fender leather coming through the bar under the saddle, I found it easiest to get a bit of the fender pushed through to this point before feeding it back over the skirt.
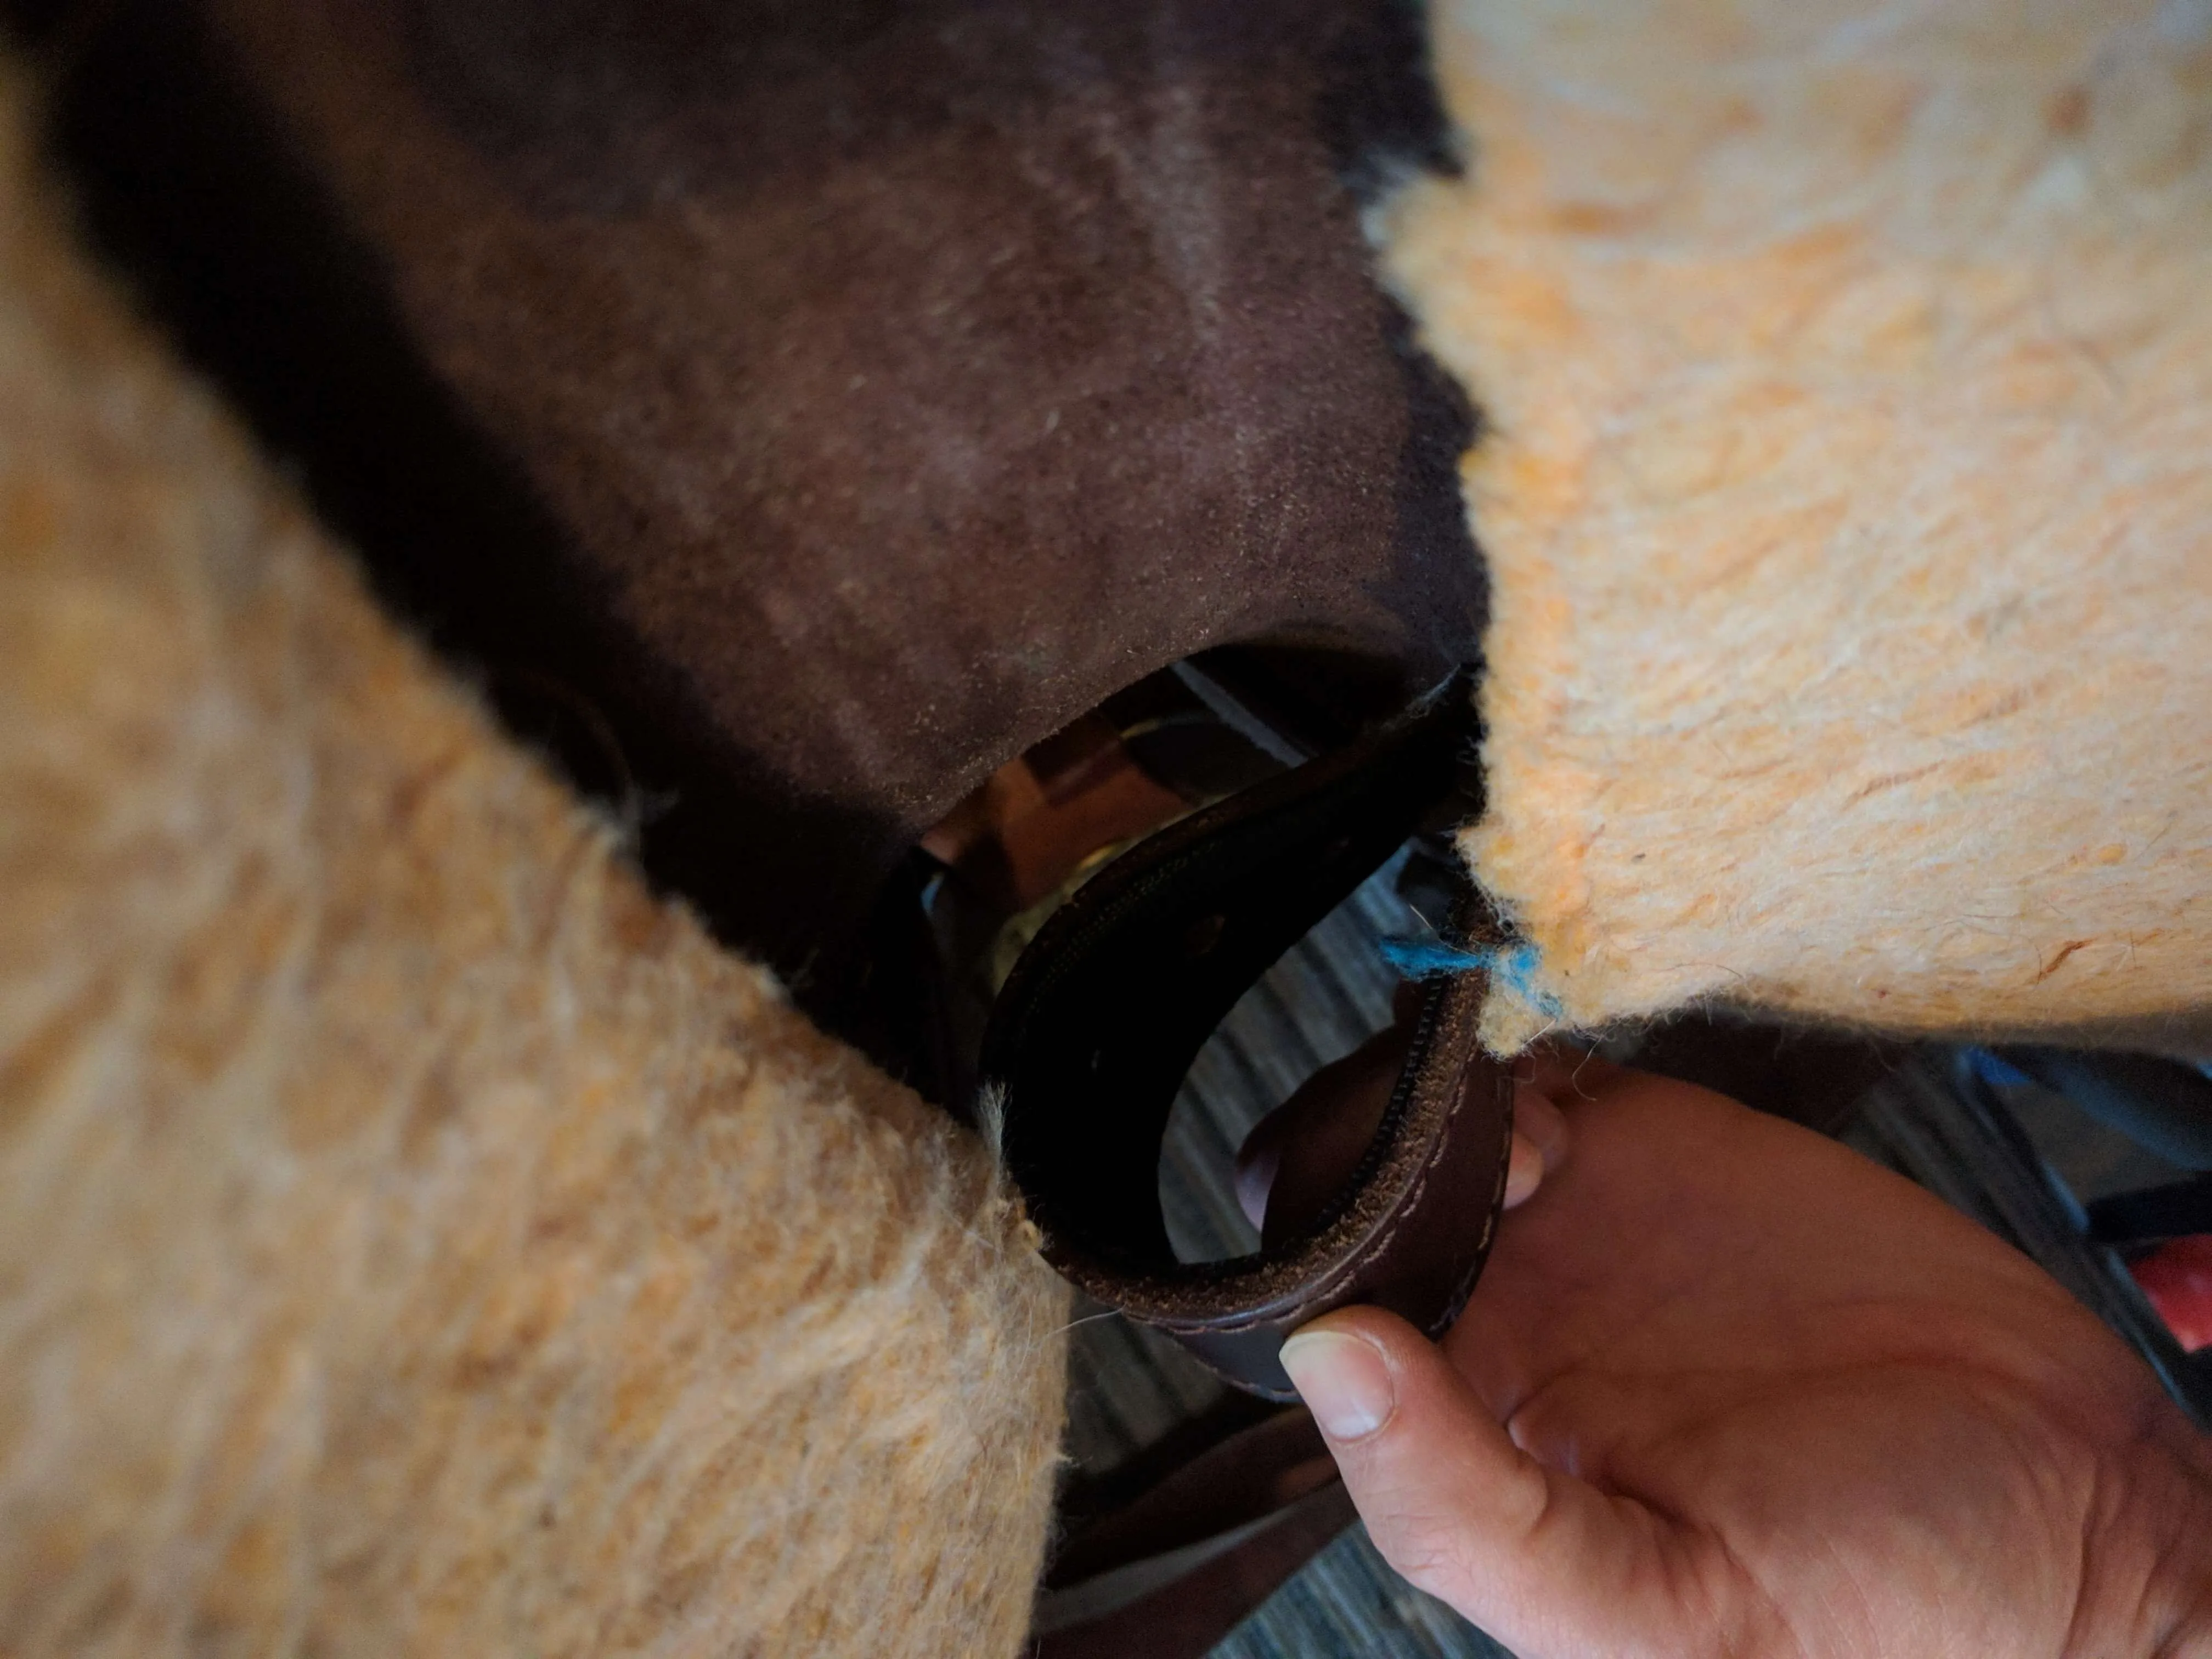
There you have it, now buckle the fender up and you are good to go.
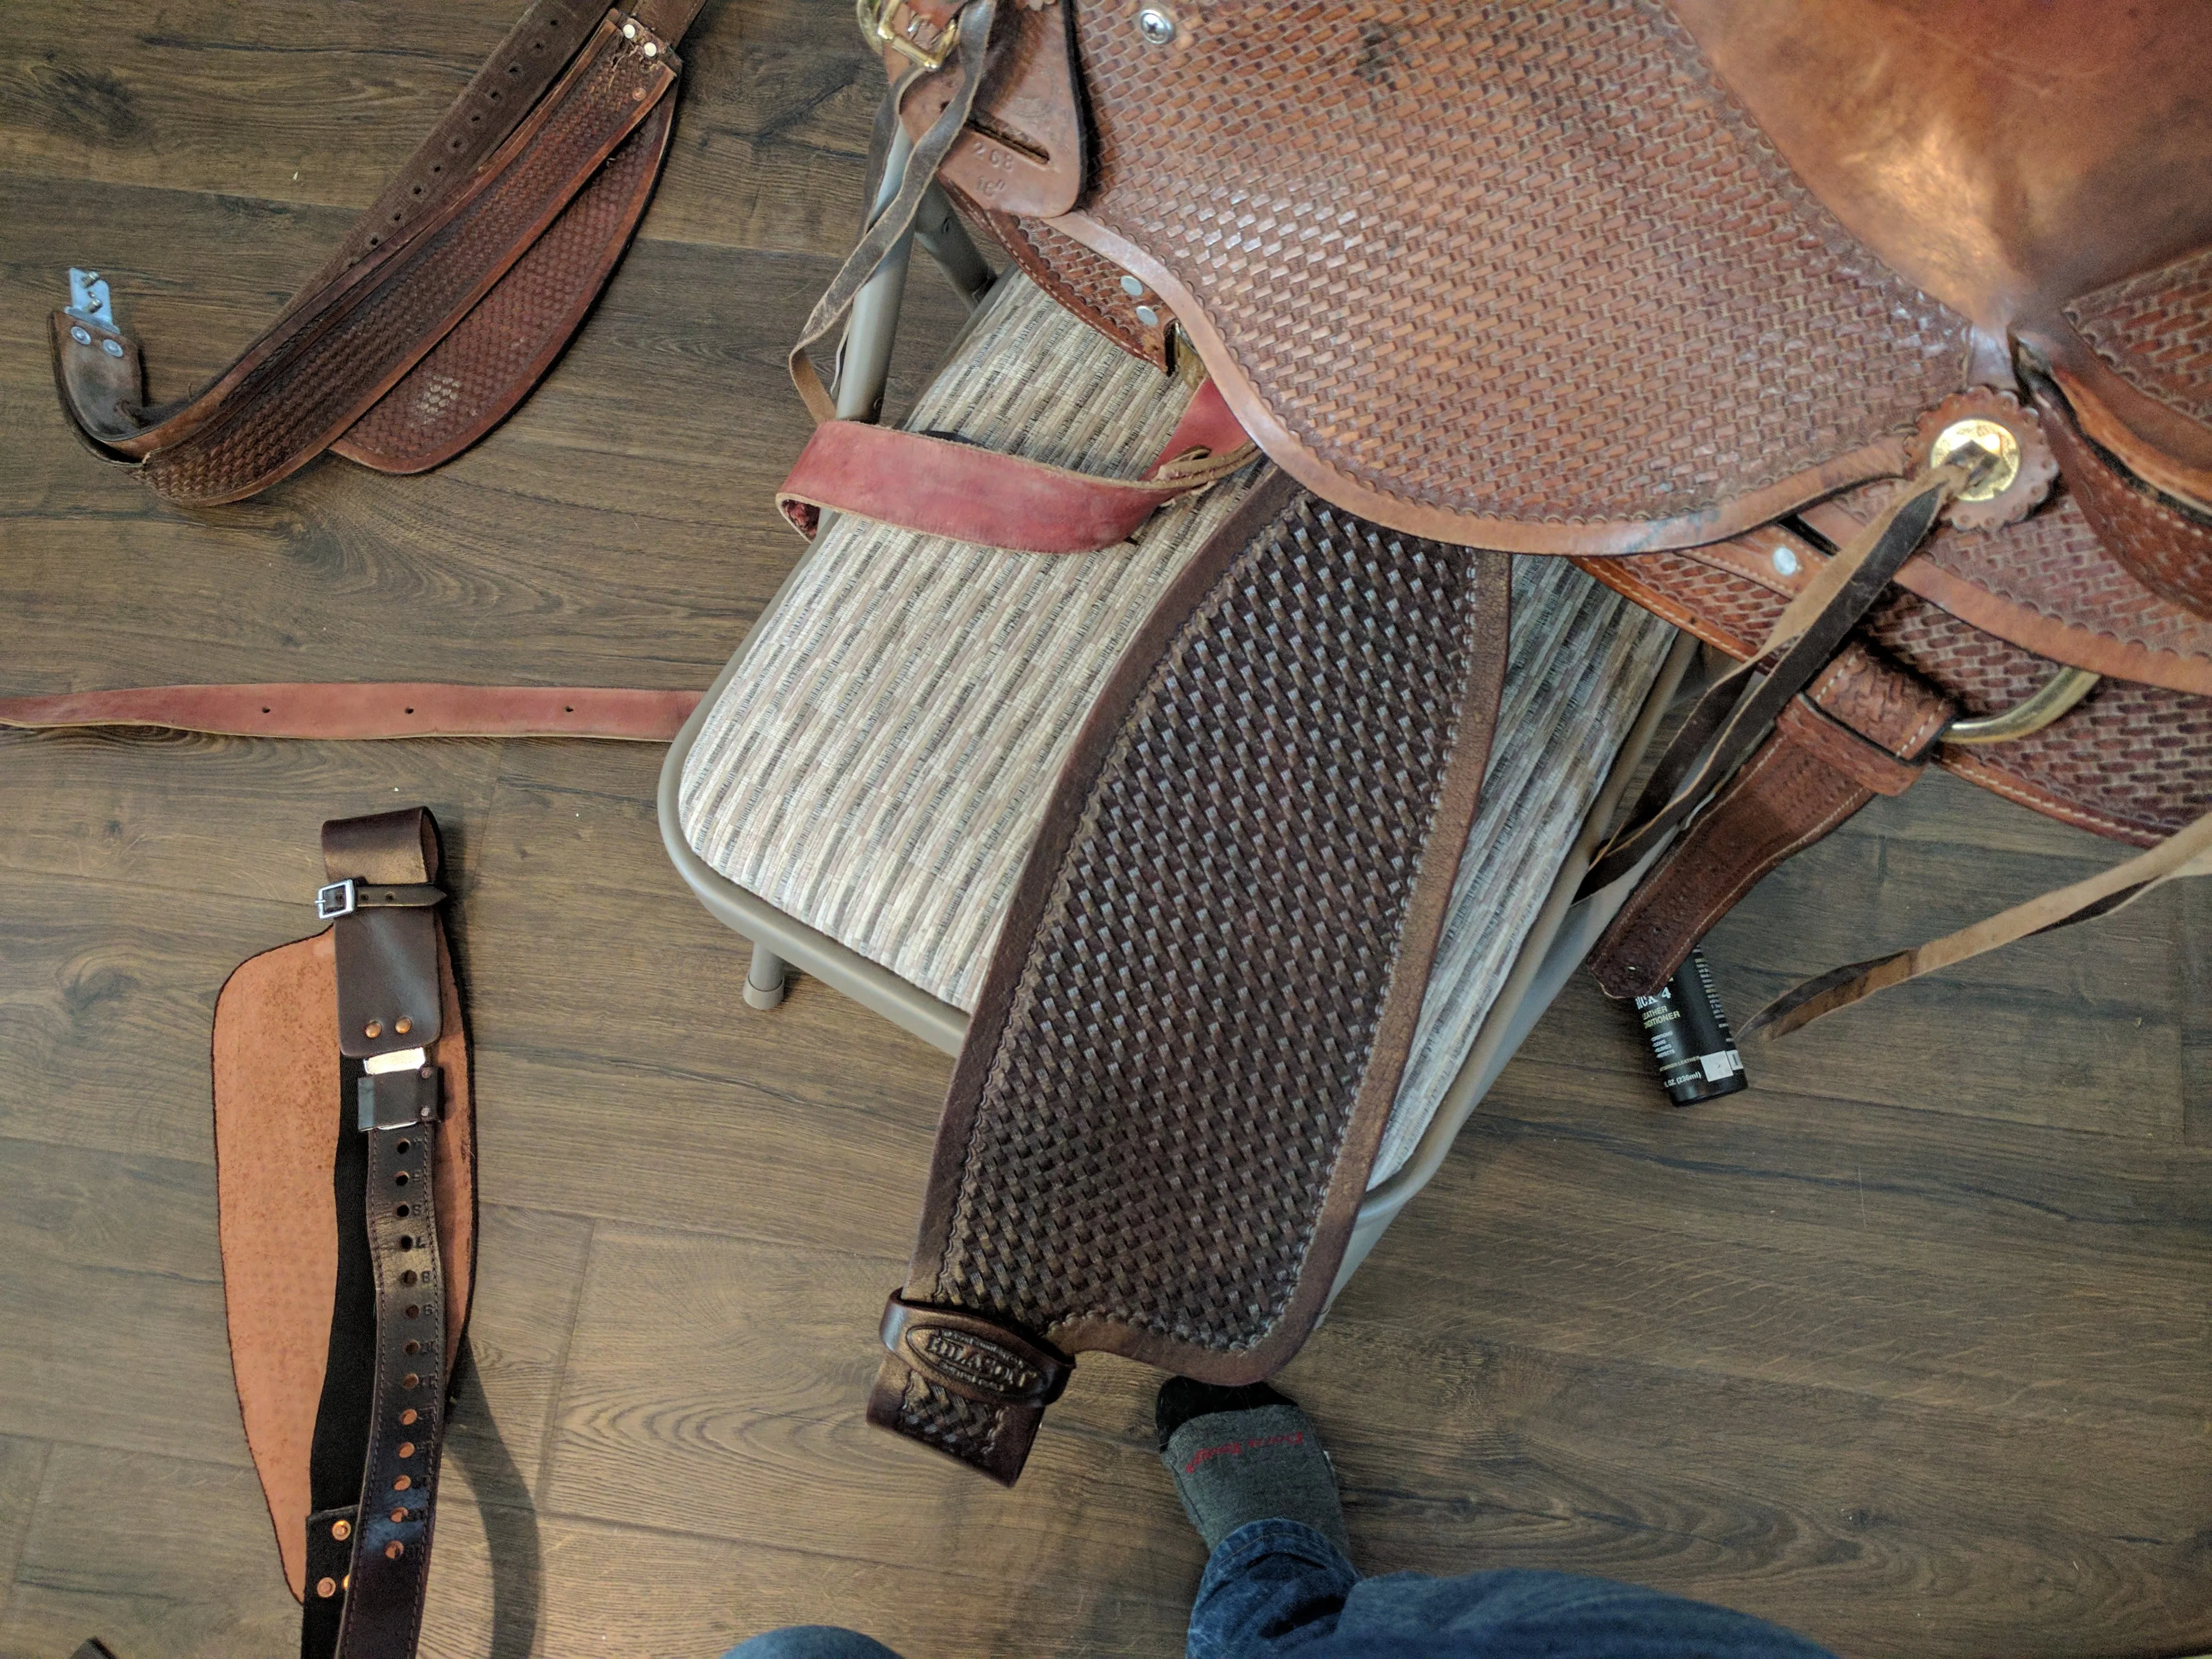
You can see that the fenders are a bit darker in this picture, that was the original color of the saddle, but being worn it gave it a lighter color, I think it’s kind of a cool two-tone look though.
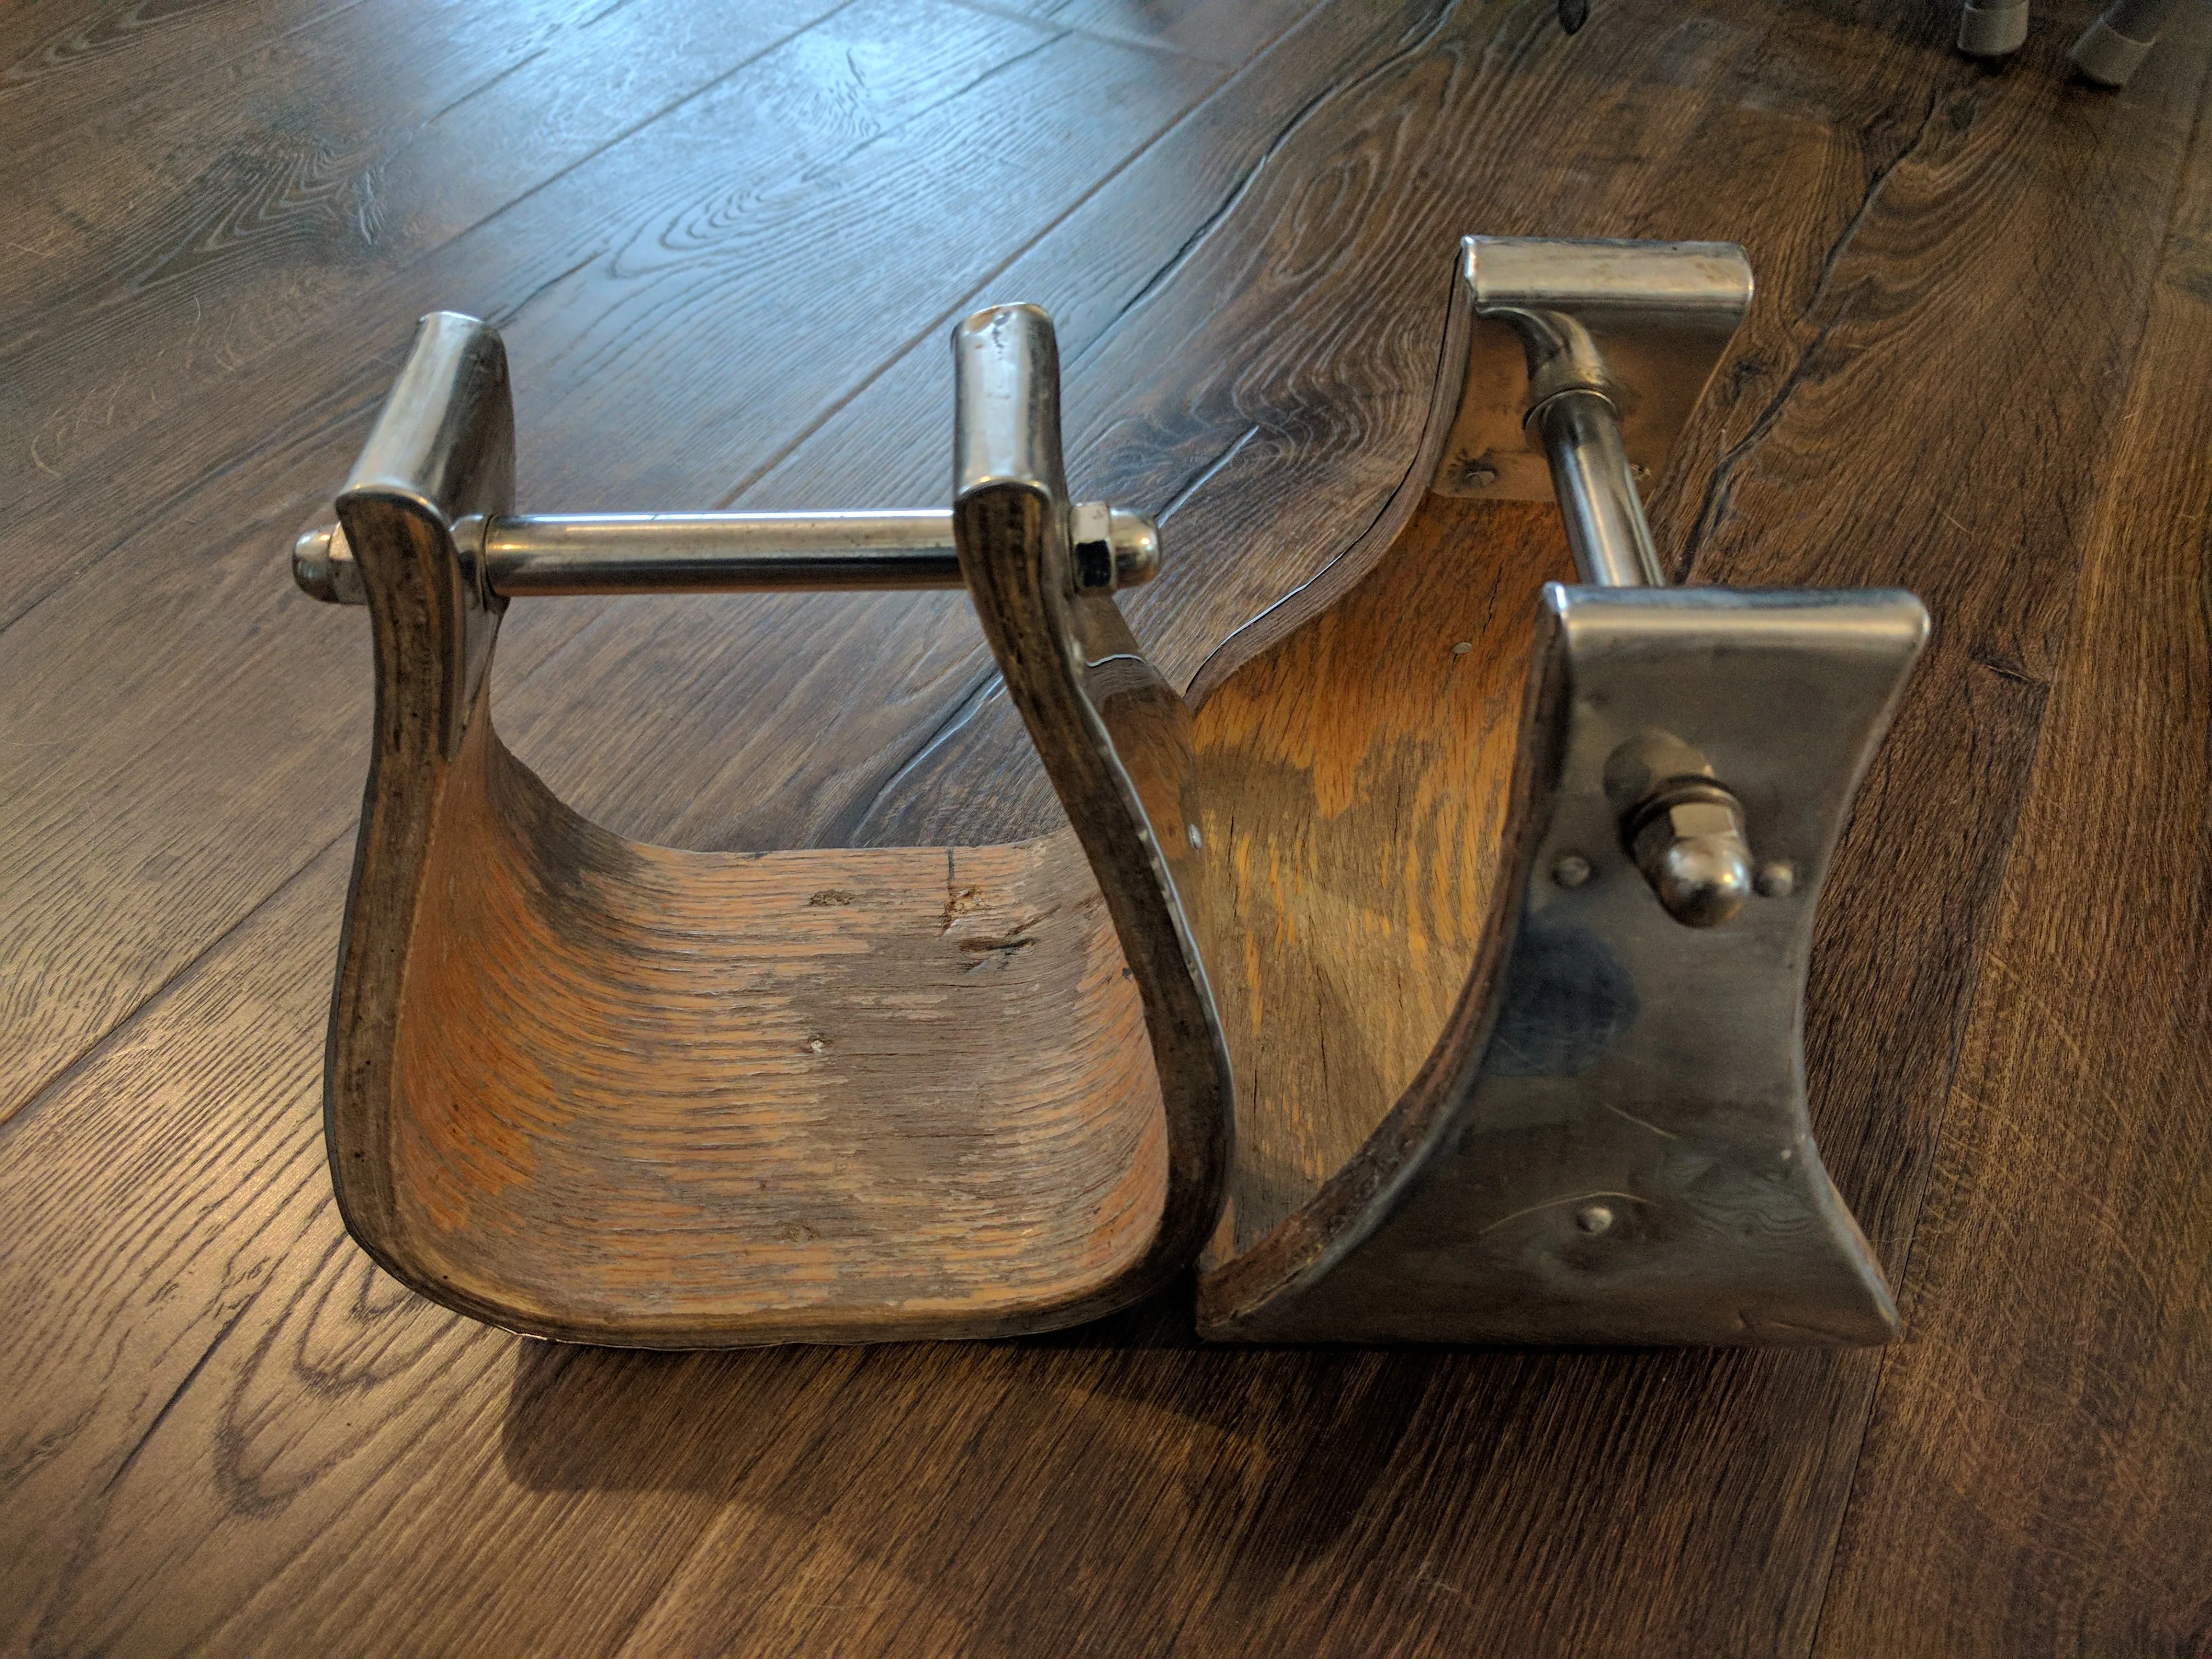
Here are my bell stirrups that I put on the saddle after buying it. I like these stirrups a lot, I got them from a Facebook group I am apart of. They are Amish made and 4-inch bell stirrups. I like them because they are more comfortable to me then thinner stirrups are, I like to have a bit of a platform to stand in while I am ridding. The best part was that the total cost for these stirrups was $100, that includes shipping. I got them from a guy named Brent Sinsel you can find him here, he was great to do business with. The picture below is of them beat up a bit because of my friend that borrowed my saddle, they have held up really well considering they weren’t taken care of too well in the last year.
So there is my quick post about how it’s really easy to do you own saddle fender replacement. Let me know if you have different suggestions or if I missed something somehow.

