
So with all the house renovations, I have been doing (you can see some of them here) it turns out that I have needed a kitchen table for a while. It took my wife Kristen telling me that she wanted one now for me to realize that though! Talk about getting your head down and getting stuck in projects to forget that you would really use something else and that it would improve your life more then what you are doing.
So with needing a table, Kristen started looking for what she would like to have and let me tell you, good tables are very expensive! I didn’t want to spend a few thousand on a kitchen table, especially when I have a larger list of things that need to be done to get the house “market” ready. So what do you do? You do some research to see what you can do yourself! So I found a few tables that Kristen liked and then looked to see if there were any tutorials on how to build them and I found that I could build this one for under $150 including buying the extra tools I would need.
I used the walkthrough and advice from Shanty 2 Chic that you can find here. One of the things I liked the most was the PDF that they have that shows the cuts for all the boards you need and also a material list.
The first thing I did was marked and cut all my wood after getting them to Russell’s Pole Barn Shed (you can find out more about his shed by starting here) This took a couple of hours but I was thinking that after cutting everything the rest would just be putting together the kitchen table so away we went.
The PDF from Shanty 2 Chic made this process really easy to mark and make cuts. Plus Russell has one of the nicest table saws I have ever used (you can buy it on Amazon.com here). For this whole thing to work, you need to have a Miter saw and a table saw to get everything done quickly. You could do all your cuts with just a table saw technically but it would be much harder to do that. 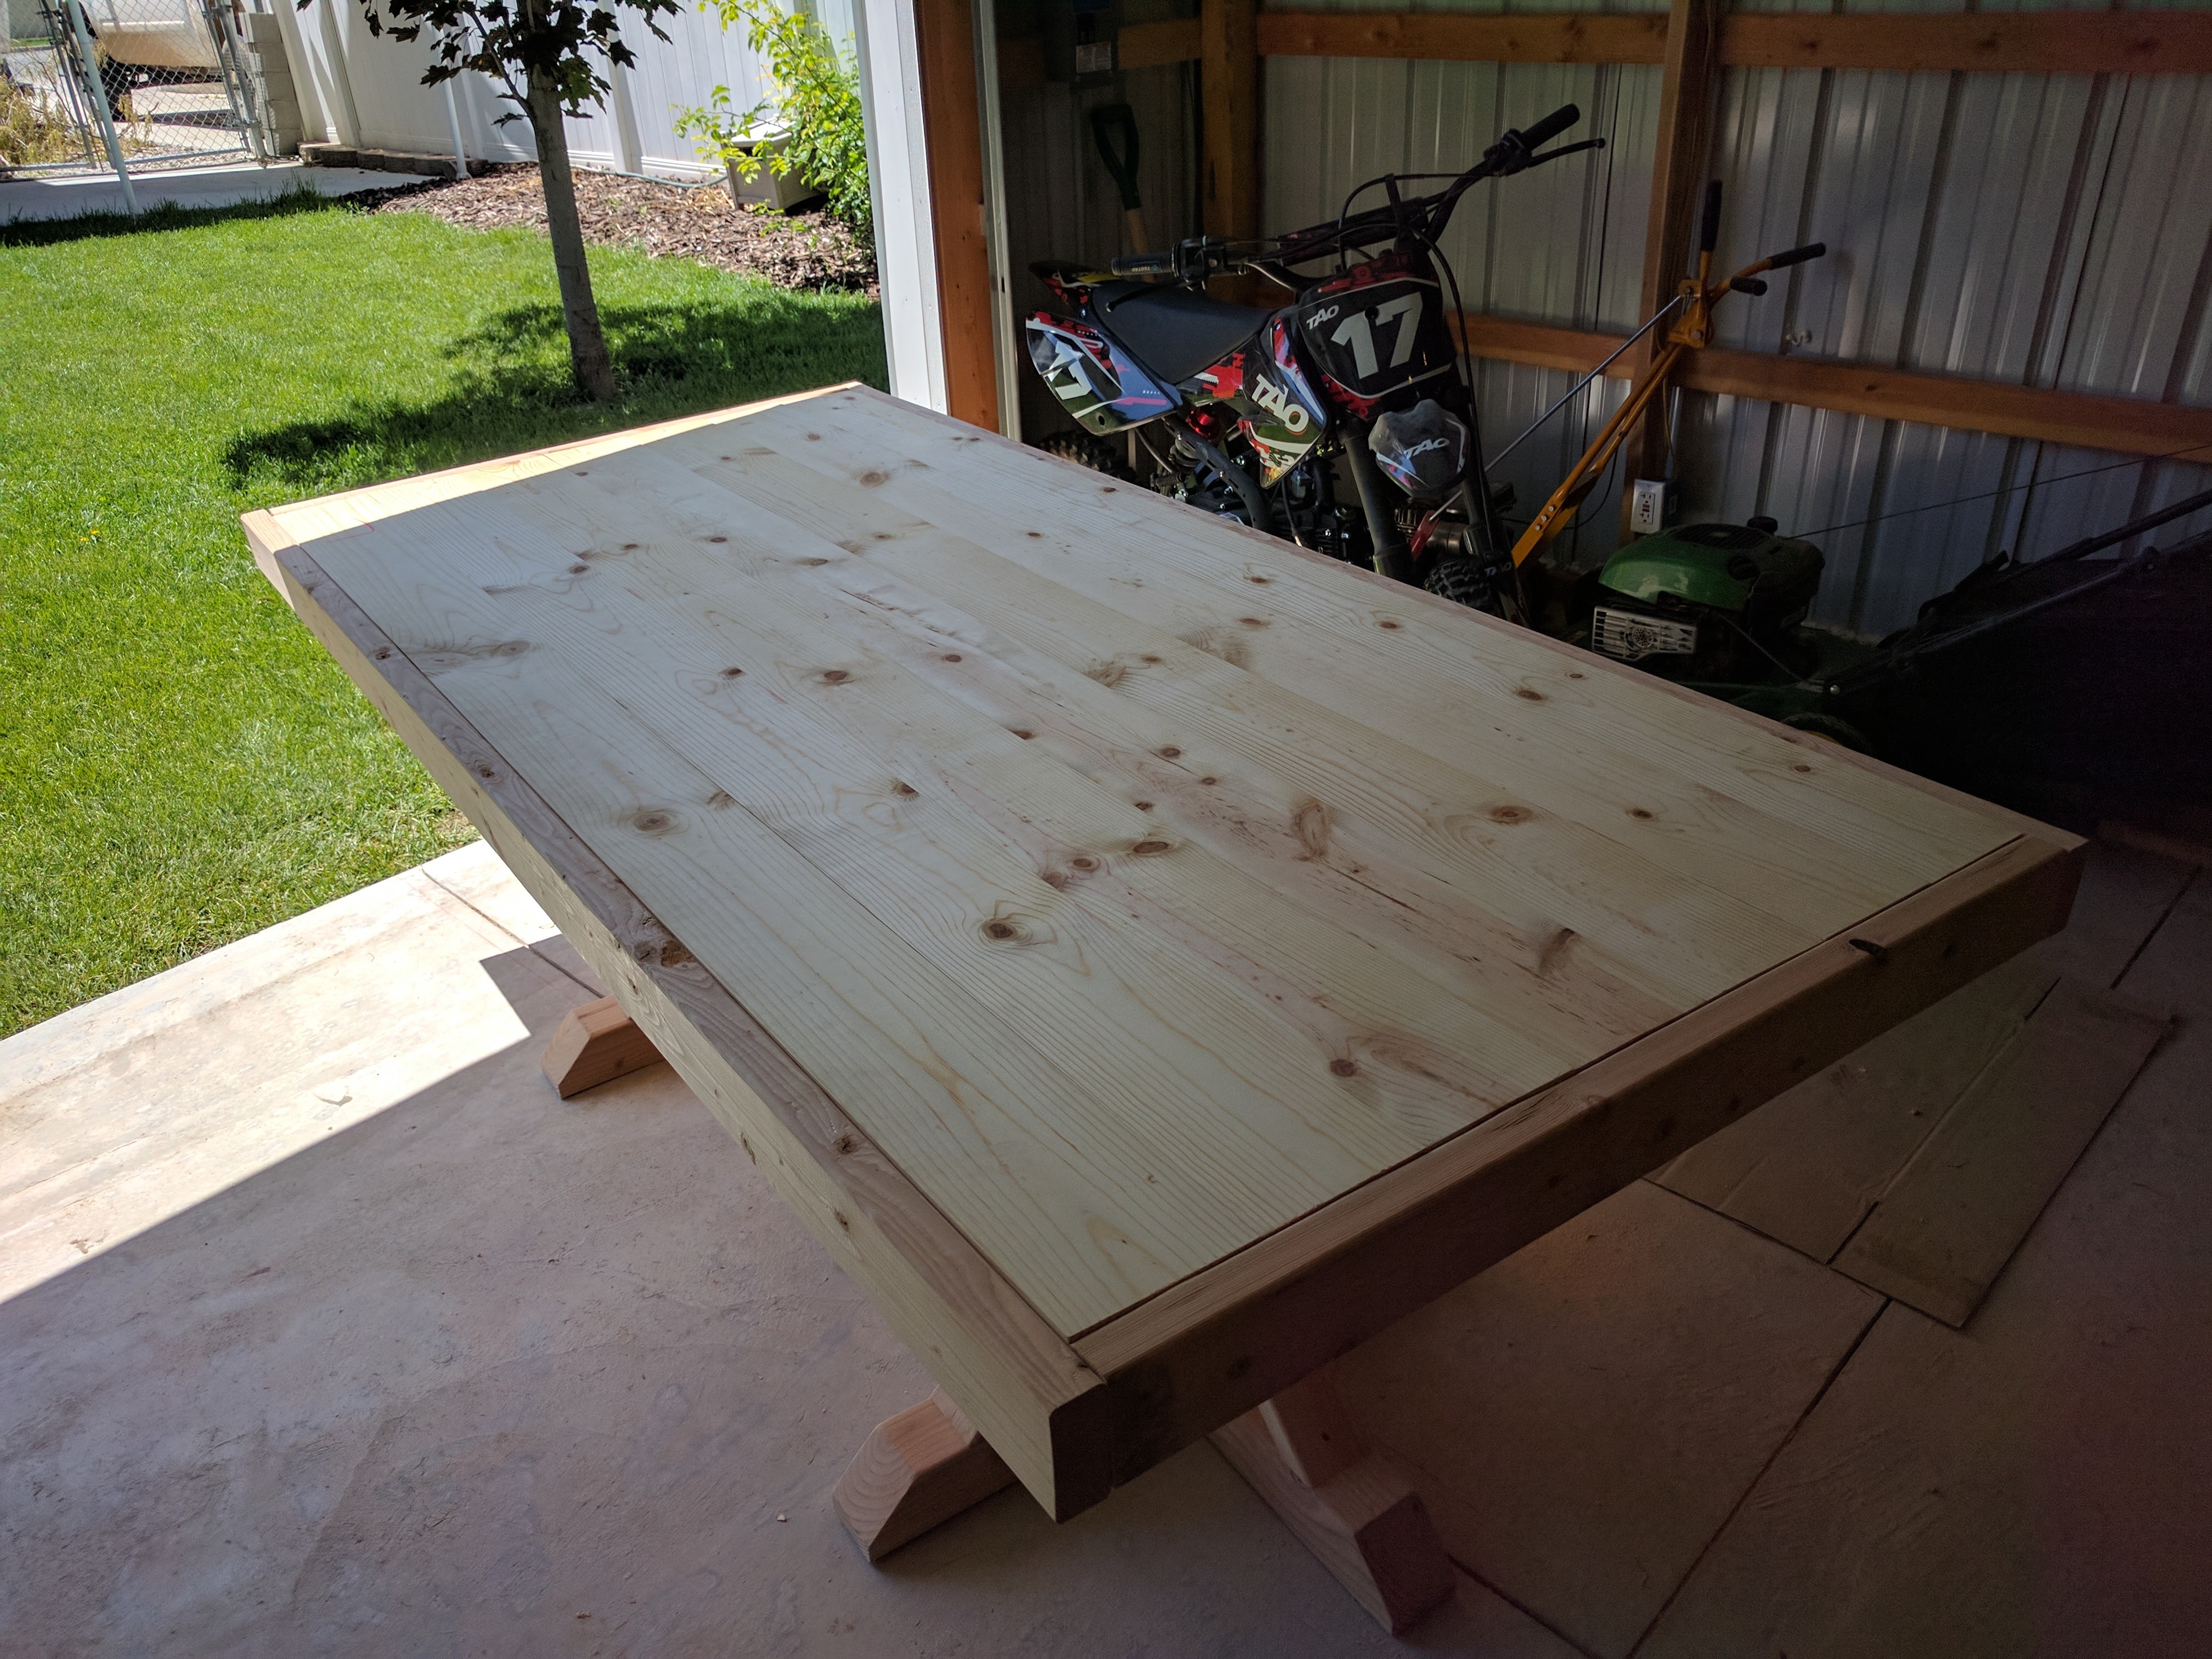
Here you can see Russell using his Rigid miter saw (which you can buy here on Amazon.com) to cut down the 1x6s that will make up the kitchen table surface.
These are really just decorative angle cuts on the 4×4 pieces that will give the legs and table some character. They don’t really do anything else other than looking good.
Here we are using Russell’s trusty table saw to cut the 4x4x1 feet that will raise the legs off the ground just a little bit.
After all the cutting of the wood was done this is what we ended up with, a pile of wood and it’s pretty cool to think that with a little bit of instruction and ingenuity you can make a kitchen table out of this pile of wood.
At this point, I am excited to start putting the pieces together to see what it will end up looking like and so we staged the pieces and the found out this to be a really helpful step to mark the pieces so that we knew what would go where. Here is what it looked like mocked up with as many pieces of the kitchen table as we could stack without it falling over!
It’s starting to look like a table! So next I started assembling the legs together, this took longer then I thought it would but just making sure I had all the correct pieces in the correct places took a little time. I ended up buying a Kreg Jig for drilling pocket screws which were awesome! You can find it through our Amazon affiliate link here it was worth the cost just to speed up the project and ease the work a little bit.
As I went through and started to drill all the pocket holes I needed to I found the Kreg Jig that I have didn’t allow for 4x4s so I did some research and found that you can just measure up 2 inches and drill until you can’t drill any longer to make your pocket holes.
After all of the pocket holes were drilled I could start to assemble the legs and see how it was going to look, but first I laid out the table base to try and get a feel for how big the table would be. I measured before I even bought anything but I have a better gauge of things when I can start to actually see them.
After getting a feel for the size that the table would be I set off assembling the legs, while I was doing this I would use my trusty Makita palm sander that you can get through our Amazon affiliate link here to sand the legs out to make them smooth to the touch. This was the longest part of the process, I guess you could sand everything down before assembly but I wanted to make sure things were still square so I didn’t want to wear down my straight cuts.
Here you can start to see the one leg coming together now. This process took me a few hours because I had to make sure I assembled all the pieces correctly which was half the battle.
After getting the legs all assembled and sanded I was on to the beast of putting the table top together. I used 1x6s to make the top and even though it would be super heavy I think I would have been better off using 2x6s instead but it turned out okay. Also, you will need a good drill and impact drill for this I suggest ones by Makita, the reason is that they are beasts I used to build steel buildings and we used these for hours and as long as you had a decent battery they would drill through steel like it was wood! If you are interested in owning a killer drill set you can get it through Amazon here.
I highly suggest having some help and better clamps when assembling your tabletop, it was difficult to do by myself and I ended up buying a hand planer to help level out the top of the table because it didn’t go together as smoothly as I wanted it to.
After that was done (I didn’t get any pictures of the planeing process sadly, but I found this one on Amazon here) I went to work with my palm sander to bring everything to a nice smooth finish point.
So there you have it, all assembled and ready to stain and finish before putting it in my house. Sign up for our newsletter for more projects like this and like our Facebook page for more fun projects! If you have any finishing suggestions let us know in the comments below.


Leave a Comment