
This is a single occupancy deluxe rabbit hutch that gives ample space for your furry friend. It has an open area to view the rabbit as well as a closed off area if the bunny wants to have some seclusion.
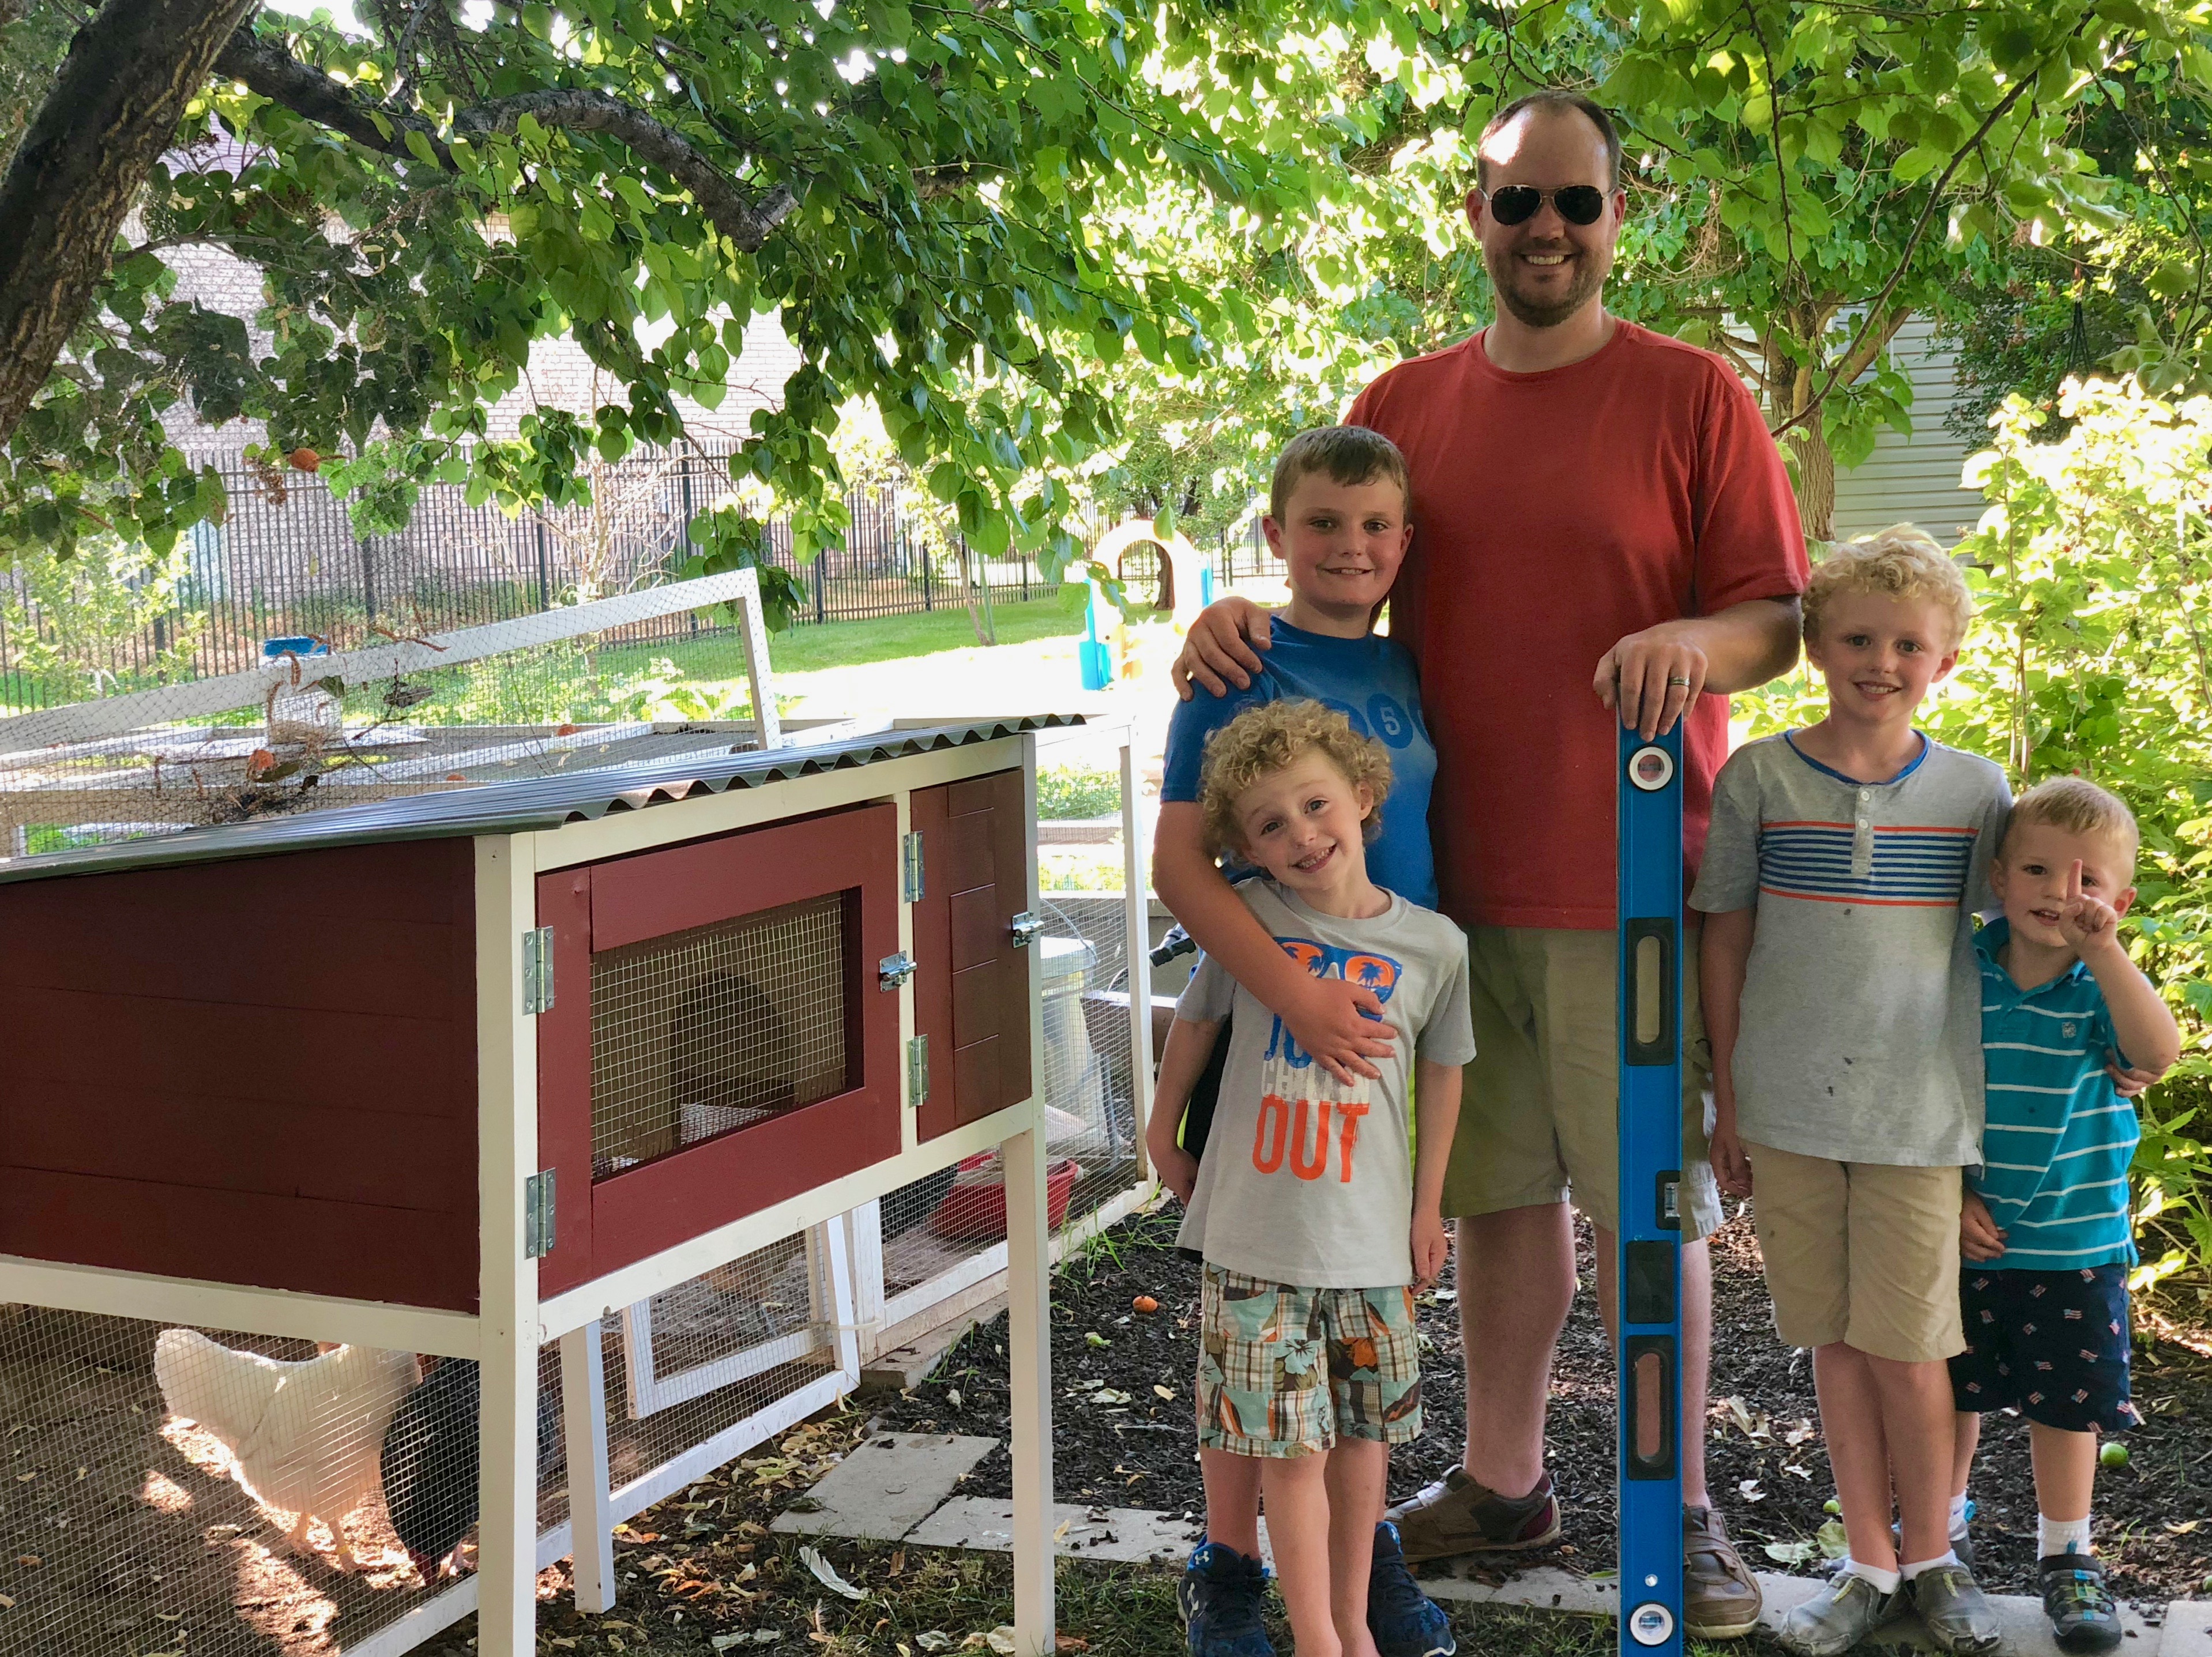
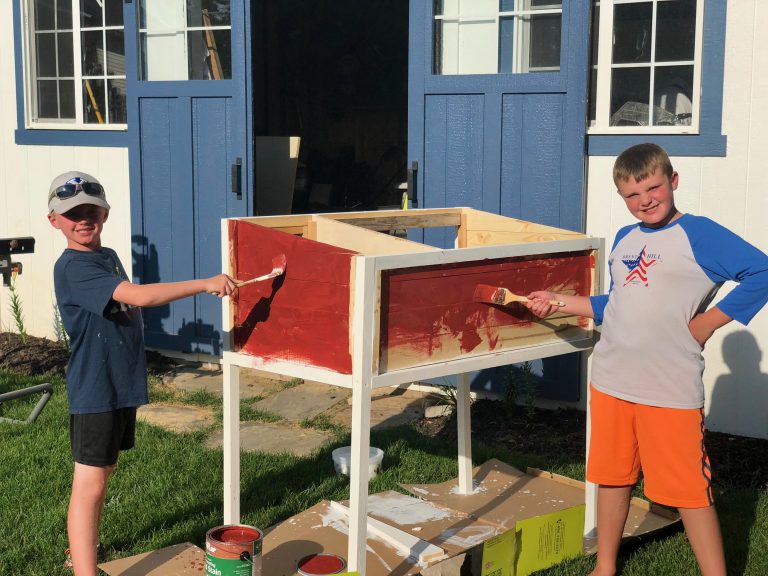
This project isn’t too complicated and you can involve your kids to help build this. My son Braxton had a blast helping me with it and is pretty proud of the Rabbit Hutch he built himself at age 8. With very close supervision I let him use the miter saw and nail gun as well as paint.
To make best use of your wood, Buy 2×4’s and use your table saw to cut down the middle to make them into two 1.5″x1.5″. Since a finished 2×4 is actually a 1.5×3.5 then when you cut one of the 1.5×1.5 the remainder of the board will be about a 1.5×1.9 so you will need to trim that board down to make it a 1.5×1.5.
Supplies
- 2×4’s
- 1×4’s
- 3⁄4” Plywood board at least 24″x24″
- Hardware cloth (recommend 1/4 inch)(Amazon | The Home Depot)
- (2) Barrel Bolt Latches (Amazon | The Home Depot)
- (4) 3″ Narrow Butt Hinges (Amazon | The Home Depot)
- Wood Glue (Amazon | The Home Depot)
- Paint
- 1⁄4” Narrow Crown staples (Amazon | The Home Depot) using a Air Narrow Crown Stapler gun (Amazon | The Home Depot)
- 1.25″ brad nails (Amazon | The Home Depot) using a 18 Gauge Brad Nailer (Amazon | The Home Depot)
- 2″ screws (Amazon | The Home Depot)
Tools
- Table Saw (Amazon | The Home Depot)
- Miter Saw (Amazon | The Home Depot)
- Impact Drill (Amazon | The Home Depot)
- Nail Gun equipment (or hammer and nails)
- Jig Saw (Amazon | The Home Depot)
- Pocket Screw Jig (Amazon | The Home Depot)
- Wire Cutters (Amazon | The Home Depot)
Step 1: Hutch Front
- (2) Legs 11⁄2 x 11⁄2 x 45
- (2) Cross Frames 11⁄2 x 11⁄2 x 42
- (1) Vertical Separator: 11⁄2 x 11⁄2 x 153⁄8
I made my hutch legs about 45″ long so that it was easy to access and view the hutch but still maintain balance so that it wouldn’t blow over in a wind storm.
Attach pieces together by pre-drilling holes using a 7/64″ Drill bit (Don’t skip this step – your boards WILL crack), add a dab of wood glue and secure with 2″ screws (2 screws for each joint should be good)
Step 2, Part 1: Small Door Trim
- (2) Horizontal Trim 1 x 3⁄4 x 10
- (2) Vertical Trim 1 x 3⁄4 x 153⁄8
Set them Flush against the back so that there is a 3⁄4” Space at the front so the door will have a “pocket” to go into.
Attach the trim on the 3⁄4 ” edge so that hole is reduced by 1″ on all sides. Secure using a bead of wood glue and 1.25″ brad nails
Step 2, Part 1: Large Door Trim
- (4) vertical supports 1 x 3⁄4 x 16 7⁄8
- (2) vertical supports 1 x 3⁄4 x 18
- (1) Large Door Stop Top 2 x 3⁄4 x 27
- (1) Large Door Stop Bottom 1 x 3⁄4 x 27
Unlike the small door to the Rabbit Hutch, these trim pieces all attach to the BACK of the frame instead of inside the door hole. Use the 16 7⁄8 ” pieces on the legs, and the 18″ pieces on the divider.
The vertical supports are going to hold the wood slats for the sides, which are 3⁄4” wide so for each set, make sure you have a touch more than 3⁄4” so that the boards can slide in. I’d even grab a board to make sure you have enough space.
Secure using a bead of wood glue and 1.25″ brad nails
Step 3: Back Frame
- (2) Legs 11⁄2 x 11⁄2 x 41 3⁄4
- (2) Cross Frames 11⁄2 x 11⁄2 x 42
When determining the placement of the lower cross frame board, measure the length of the legs on the completed front portion and make the back legs match so the bottom of the hutch will be level
Attach pieces together by pre-drilling holes using a 7/64″ Drill bit, add a dab of wood glue and secure with 2″ screws (2 screws for each joint should be good)
Step 4: Paint
If you haven’t painted your boards yet, and if you want to paint your Rabbit Hutch the same way I did, then this is a great time to apply the white paint. This will make it a lot easer so you don’t have to tape anything off and you can paint seams to get a better seal.
You will also want to cut and paint all the boards in all the steps below the color red:
 Step 5: Back Trim
- (2) Trim 1 x 3⁄4 x 123⁄16
- (2) Trim 1 x 3⁄4 x 133⁄4
Attach the first set of trim inside the hole of the frame, with the 3⁄4 ” Side attached to the leg. Secure using a bead of wood glue and 1.25″ brad nails
Then attach the other two trim boards, also with the 3⁄4 ” Side attached to the leg. Make sure and measure so that the bottom of the board lines up with the bottom of the Rabbit hutch. You will use the 3rd board a little later
Secure using a bead of wood glue and 1.25″ brad nails
Step 6: Attaching the Back Slats
- (3) Back Slats finished 1×4 (which means it really is a 3⁄4x33⁄4)x42
- (1) Back Slat 1x[Measured gap]x42 (in my case it was 113⁄16” so I made a board 1x113⁄16x42)
- (1) Trim 1 x 3⁄4 x 151⁄4
Secure to the trim pieces using a bead of wood glue and 1.25″ brad nails.
Step 7: Side Rails
- (2) Side Rails 11⁄2 x 11⁄2 x 24 (Painted White)
In this picture the side rails are purple and everything else is grayed out to better show the intended result
Attach pieces together by pre-drilling holes using a 7/64″ Drill bit, add a dab of wood glue and secure with 2″ screws (1-2 screws for each joint should be good)
Step 8: The Rabbit Hutch Divider
- 3⁄4 ” Plywood Divider 18 3⁄8 x 24
Using your JigSaw, cut the divider to have a entry hole about 8.5″ wide and then cut a taper on the top to match the 15 degree pitch of the roof. To do this, measure 15 3⁄16 ” on the back and draw a line from the front to the back, then saw.
Then insert the divider and attach to the trim pieces, secure using a bead of wood glue and 1.25″ brad nails
Step 9: Side Panels
- (10) Finished 1×4 panels (which means it really is a 3⁄4x33⁄4)x24
Slide in the panels on each side. On the top board, mark the top of the front of the hutch and then mark the back – Draw a line between the to and cut the board at that angle.
Secure using a bead of wood glue on the trim pieces and 1.25″ brad nails.
Step 10: Large Door
- (2) Finished 2x4s @ 21″
- (2) Finished 2x4s @ 15″
Note that the large door is deeper than the little door, so you will be using normal 2x4s for this part. Measure the opening in the Rabbit Hutch and then reduce it by about 1⁄2 ” on the top and side to figure your measurements.
Use Pocket Screw Jig and screws to assemble. Then staple the Hardware cloth using 1/4″ narrow crown staples (staple on the inside of the door).
Step 11: Small Door
- (2) Finished 1×4 boards (which means it really is a 3⁄4x31⁄2)x15
- (4) Finished 1×4 boards (which means it really is a 3⁄4x31⁄2)x41⁄2
- (1) Finished 1×4 board (which means it really is a 3⁄4x[Measured gap])x41⁄2
The gap on my example was 1″ so I had a 3⁄4x1×41⁄2 Board. Use Pocket Screws to attach everything
Step 12: Hardware and Hardware Cloth
It’s more trouble than it is worth to try and get the hardware and hardware cloth into a CAD software – so I’ll switch to actual results now.
But essentially you need to staple the Hardware cloth onto the bottom of the rabbit hutch as well as to the bottom of the divider.
Also add your hinges and locks on to the doors.
- Hardware cloth (recommend 1/4 inch)(Amazon | The Home Depot)
- (2) Barrel Bolt Latches (Amazon | The Home Depot)
- (4) 3″ Narrow Butt Hinges (Amazon | The Home Depot)
Step 13: The Roof
There are a few options here. you can use Corrugated Sheet metal or some of the plastic alternatives. they usually come in 8′ lengths and 36″ wide, so you should be able to just buy one piece and cut it so that you can use two sections that overlap on each other. then secure with screws.
![]() Couple of things to consider:
Couple of things to consider:
- Clear plastic roofing creates a really strong greenhouse effect and could cook your rabbit to death if their hutch gets too much sun
- Metal, or opec roofing materials are less vulnerable to creating a greenhouse effect, but still would be a concern
Best option – make sure the Rabbit Hutch stays in a shady, dry area that doesn’t get too much wind.


Leave a Comment